I’m coming at you with a different type of post today, but one I’m so excited to share: a DIY cane bed.
Most of the time I share food and recipes, but I also love interior design. Since we moved out of our tiny one-bedroom apartment (but basically studio, since the doors to the bedroom were glass) and into our two-bedroom apartment, I have been struggling with what to do with the extra bedroom. I loved having open space to do yoga or YouTube exercise videos when I didn’t feel like running outside, but I knew that wasn’t the best use of the space.
We wanted to have a place for friends to stay with us when they came into town. Because of this, we thought a trundle bed would be an efficient way to have enough bed space without the mattress taking up the whole room. Over the course of a few months, we bought a trundle bed and a twin mattress and box spring from different people on a buy-trade-sell group on Facebook. It was the ultimate fail. The trundle bed ended up being for a toddler, and the twin mattress and box spring were not actually twin, but twin XL We got rid of the toddler trundle and tried to make the XL twin work for a while. The XL mattress was fine as long as we didn’t have a footboard. But after months of having the room haphazardly put together with an XL twin bed in the corner sans any kind of headboard or footboard, it needed to change. It frustrated me every time I walked in the room, and it wasn’t a place I felt comfortable offering friends.
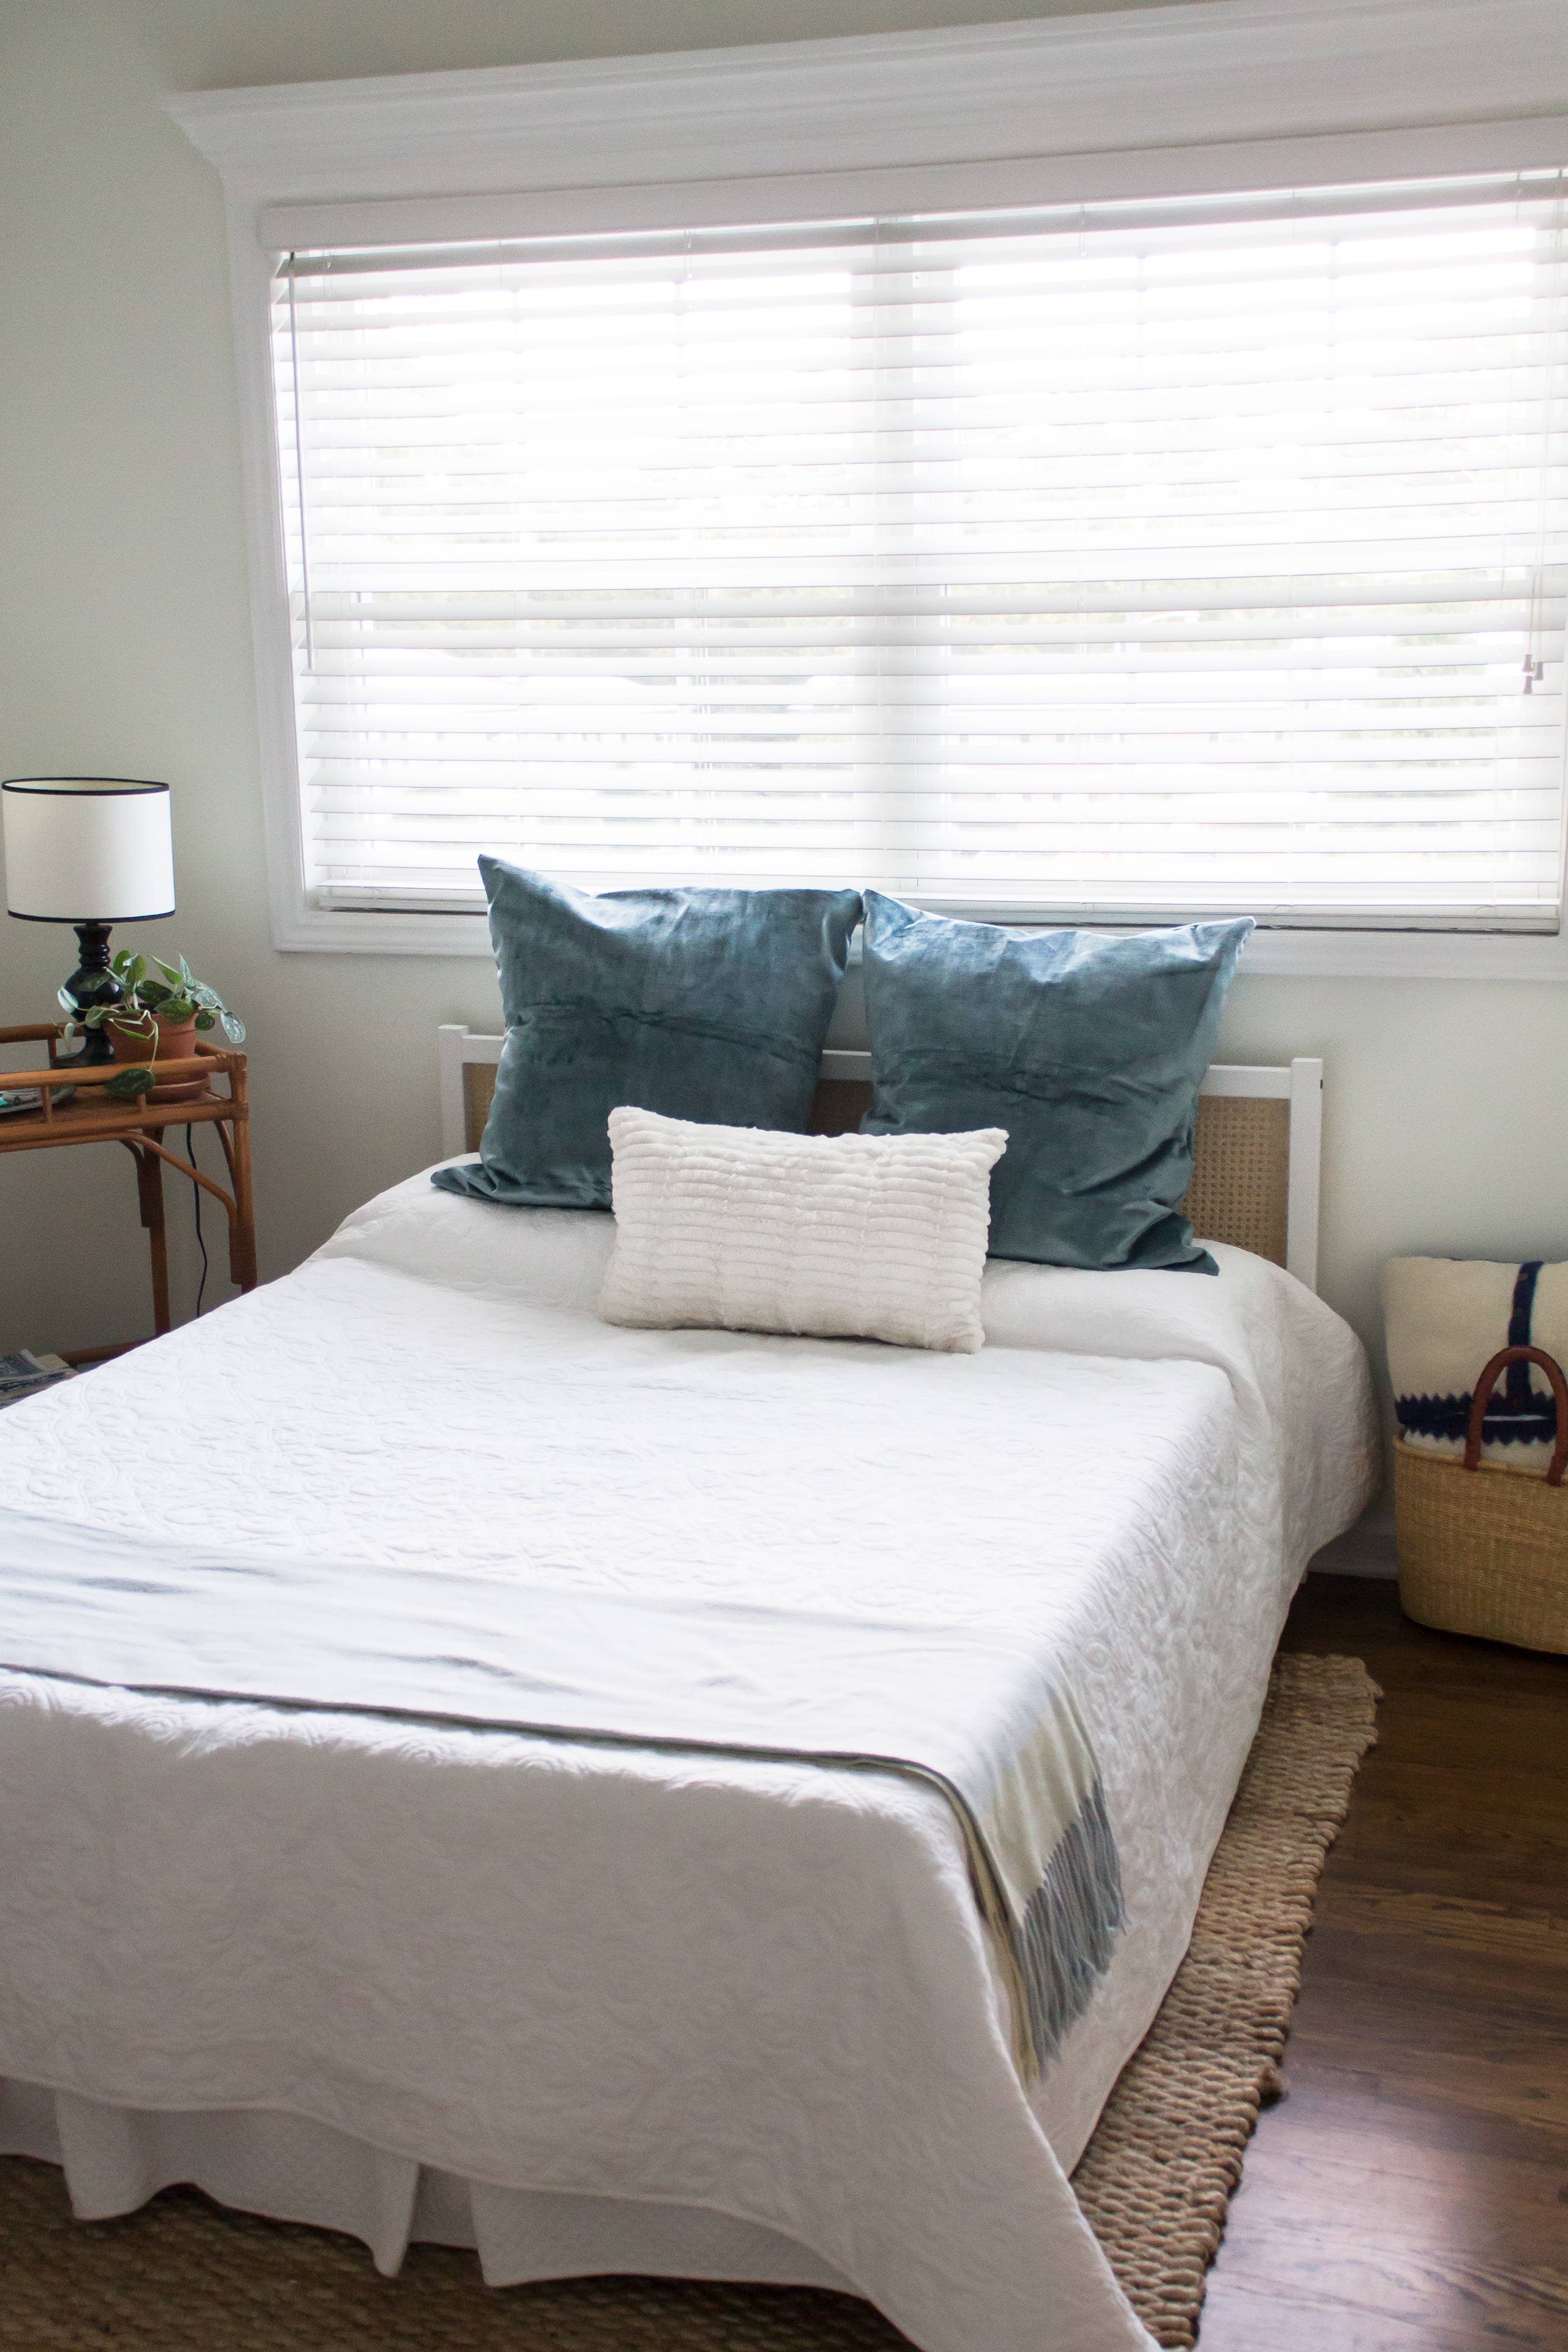
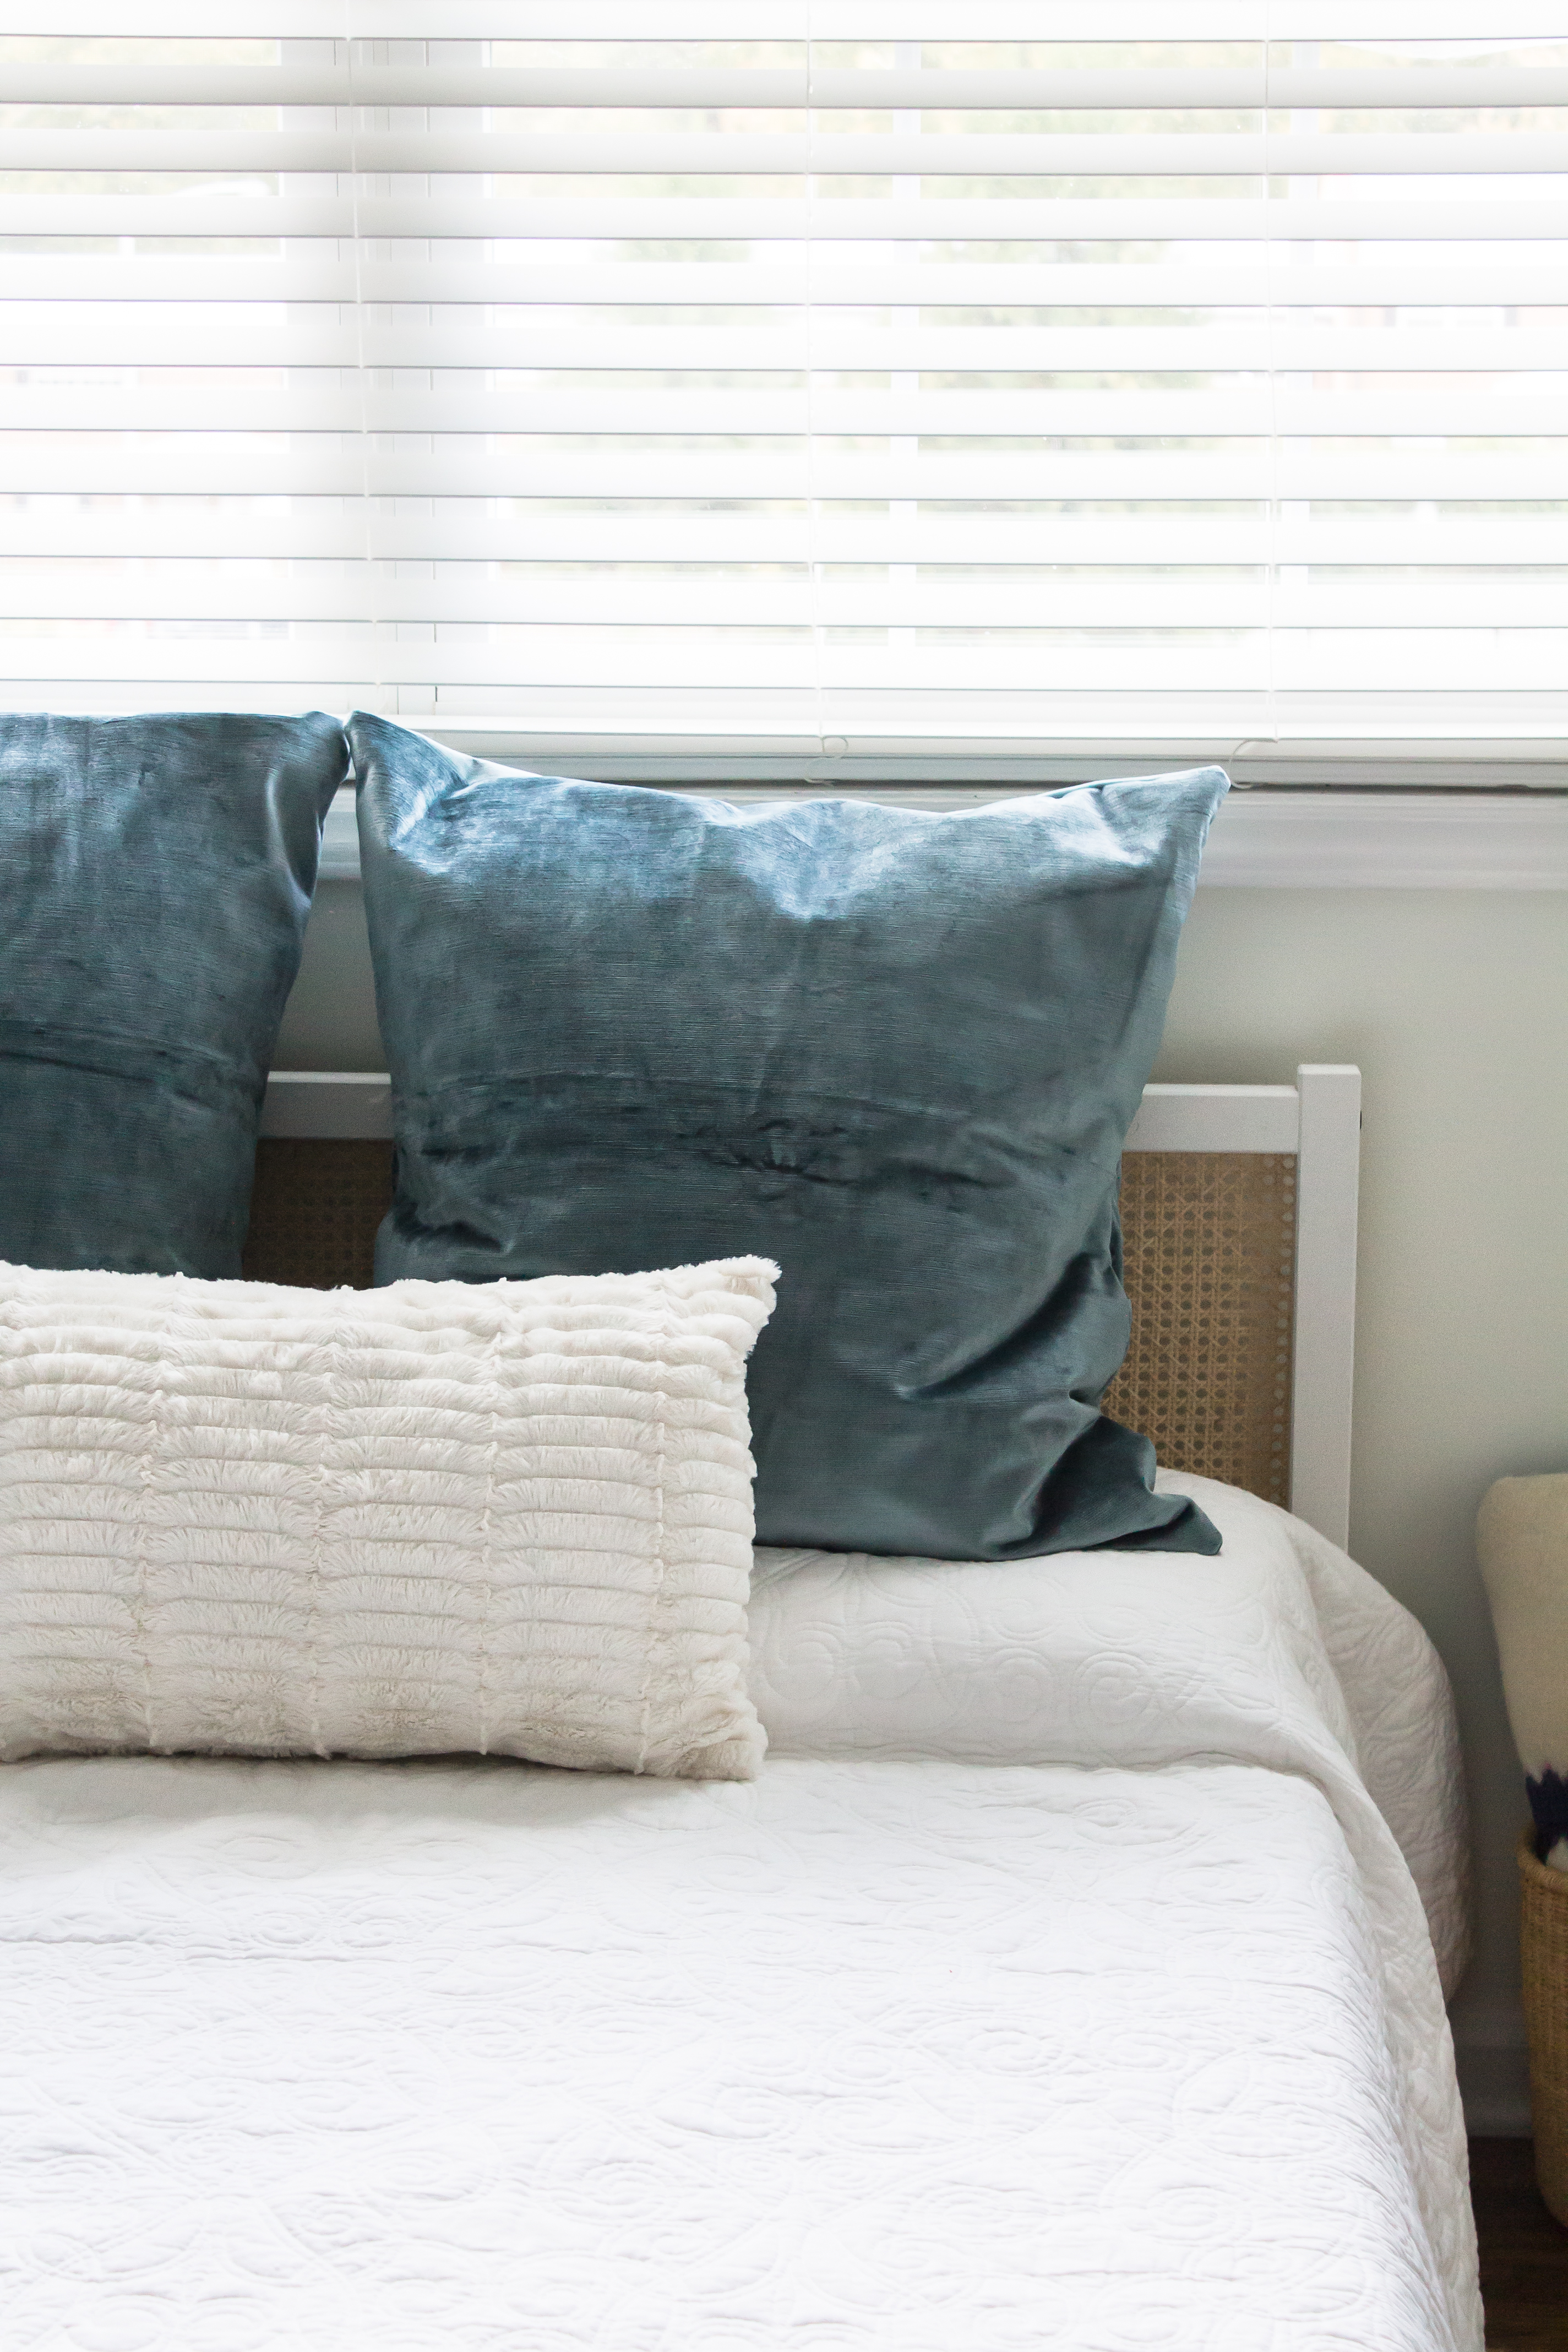
While the twin bed had worked for the few guests we hosted over those few months, we knew it wasn’t a good option long term, especially for couples. Rather than continue to look for a twin trundle, we started a new search for a double bed, which would be small enough to fit in the room with space around it, but large enough to comfortably host two people. I have been gathering inspiration for this room since we moved in, and loved the idea of having a blue and white color palate with natural elements to make the room feel calm and soothing for anyone staying there. Week after week I kept coming back to this Serena and Lily Harbour Cane Bed. It is so beautiful, but very pricy and definitely out of our budget for a guest bed. Made of white wood and cane backing, the bed is fairly simple, so I did some research and decided to recreate the look myself with a plain IKEA Fjellse bed and cane backing from a woodworking store. I absolutely love it! I definitely recommend this method to anyone looking to make a budget look fancy. It is so easy, and doesn’t take long at all to finish. It is too good of a project not to share with all of you here. Below, I outlined the steps below, with a few extra tips to make your bed even fancier.
Materials Needed:
1 IKEA Fjellse bed (ours is a full, but you could do this with any size)
White paint
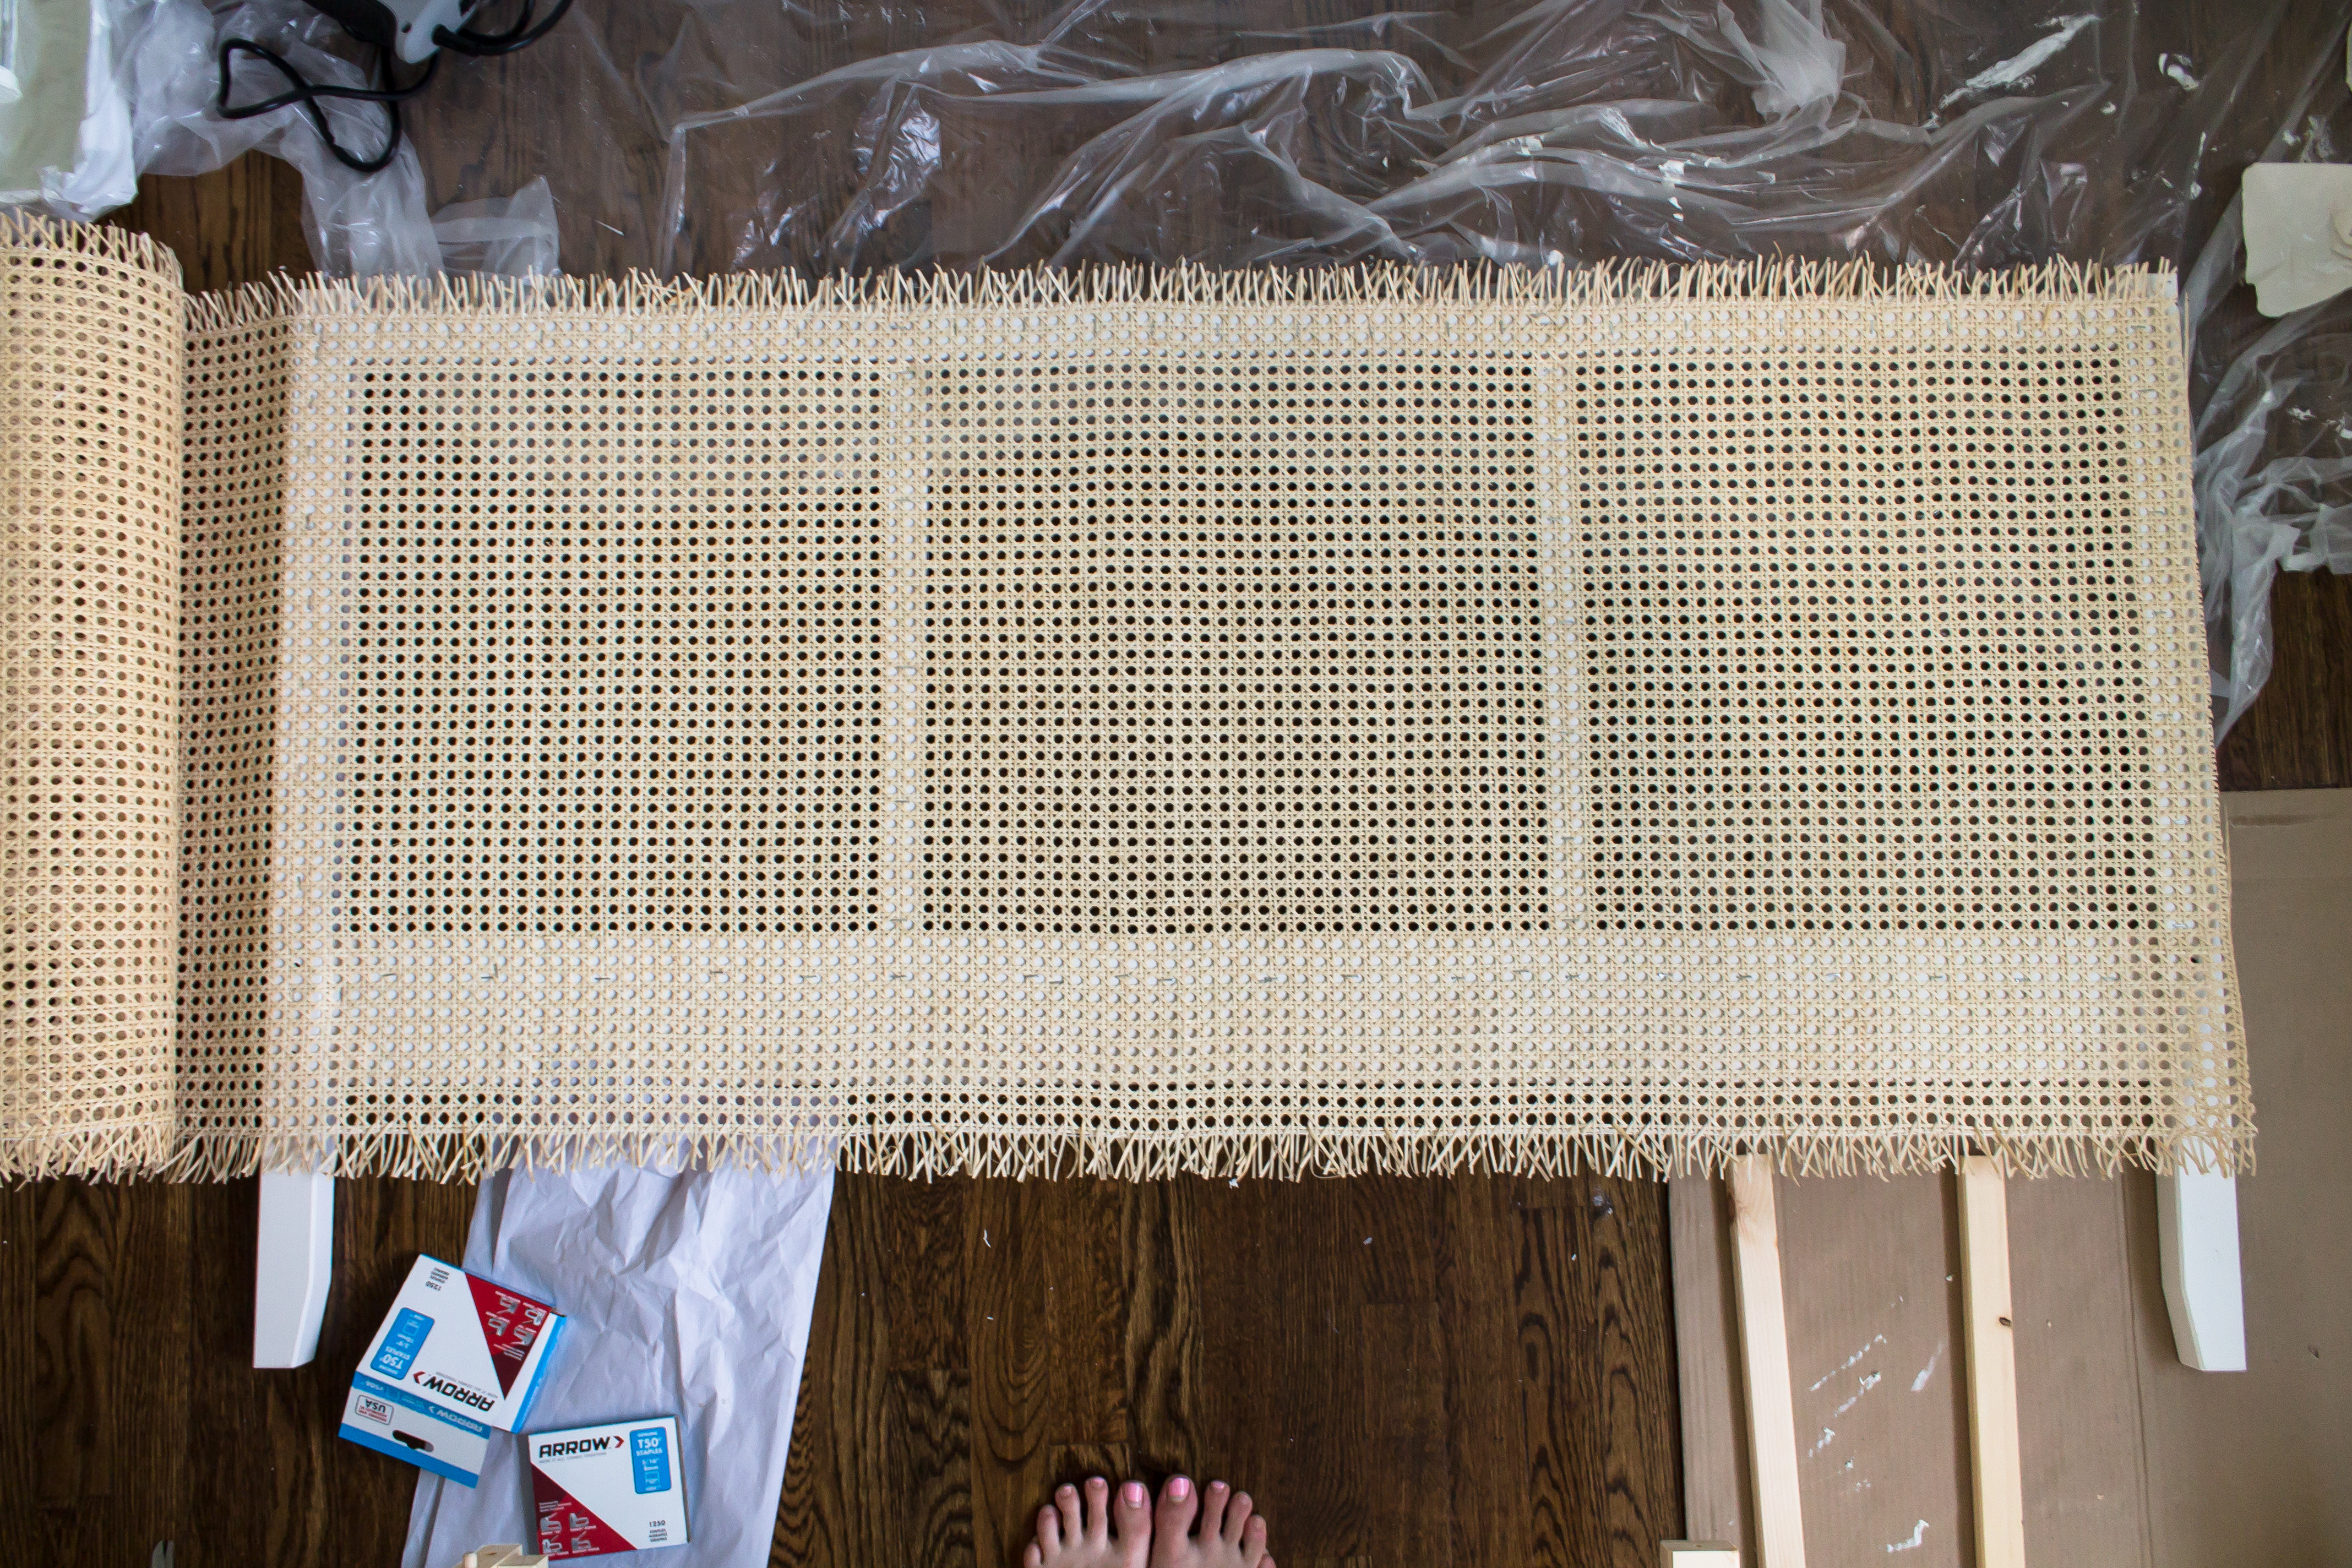
60 inches of 24-inch wide caning (also called cane webbing) – you can get this on Amazon, but I got mine at a local Woodcraft store
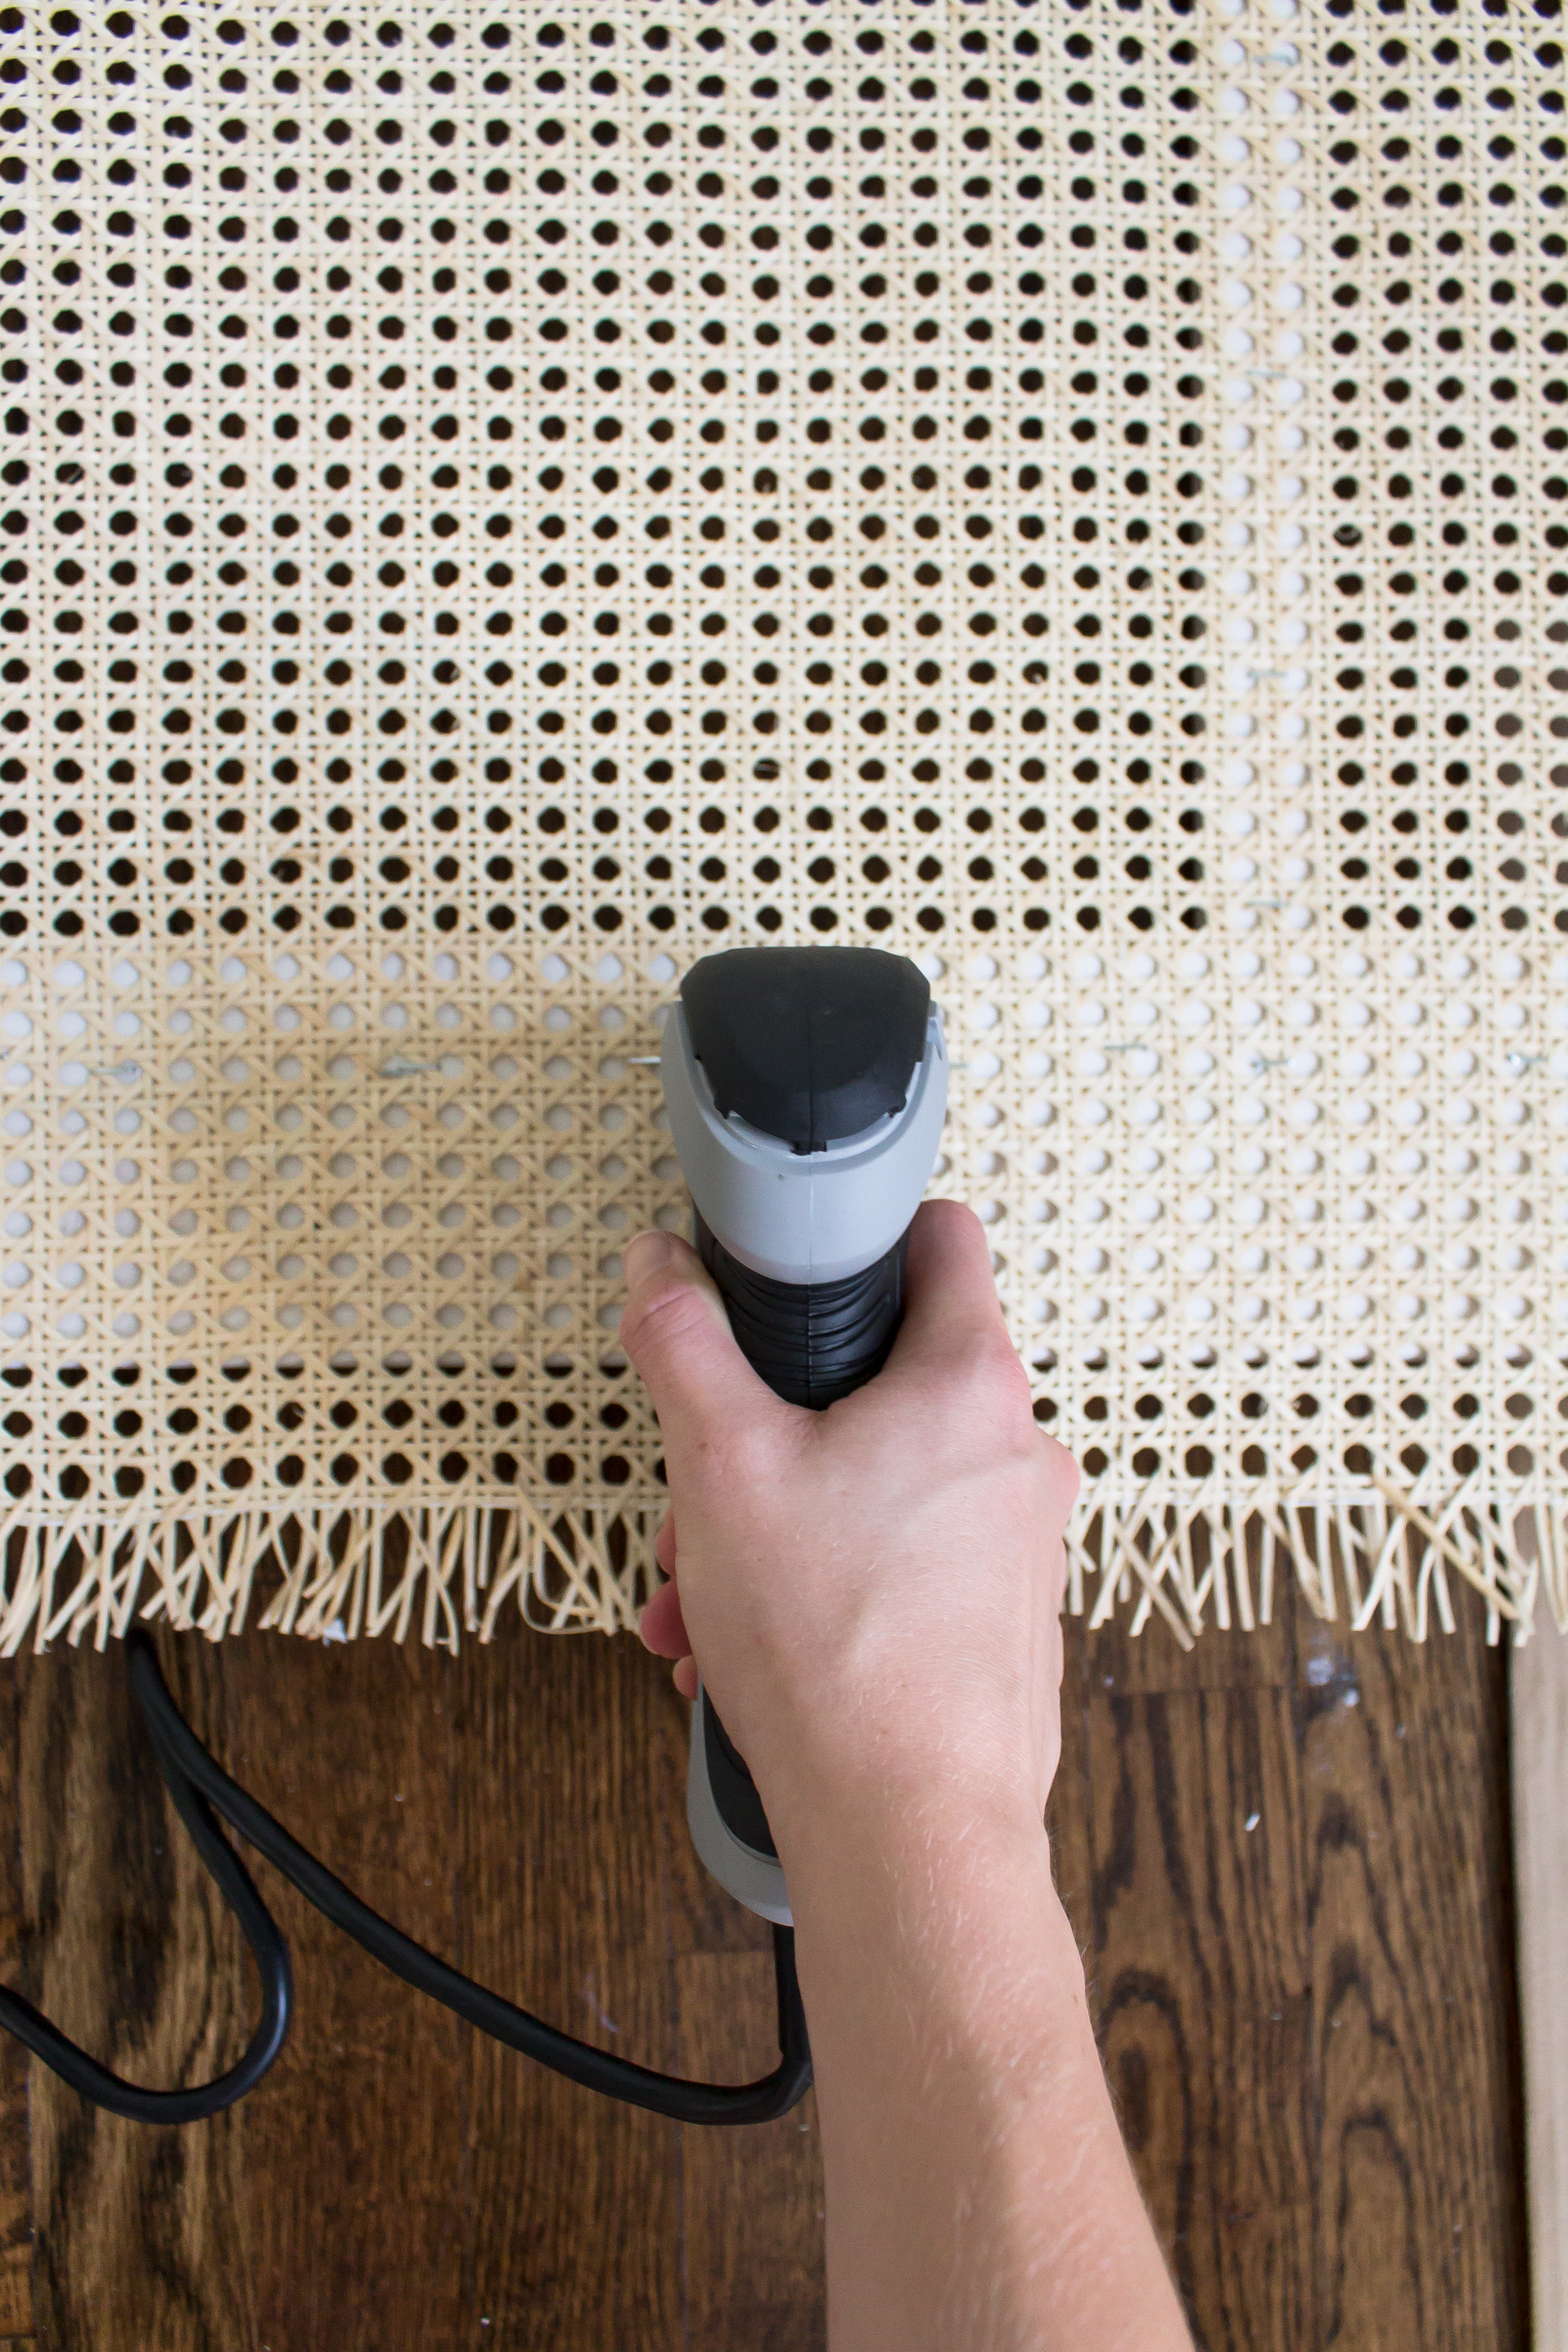
Staple gun
½-inch staple gun staples
Scissors
Optional:
Molding
Clamps
2 curtain finials
Wood glue
Set of legs (IKEA and Lowe’s both have many options)
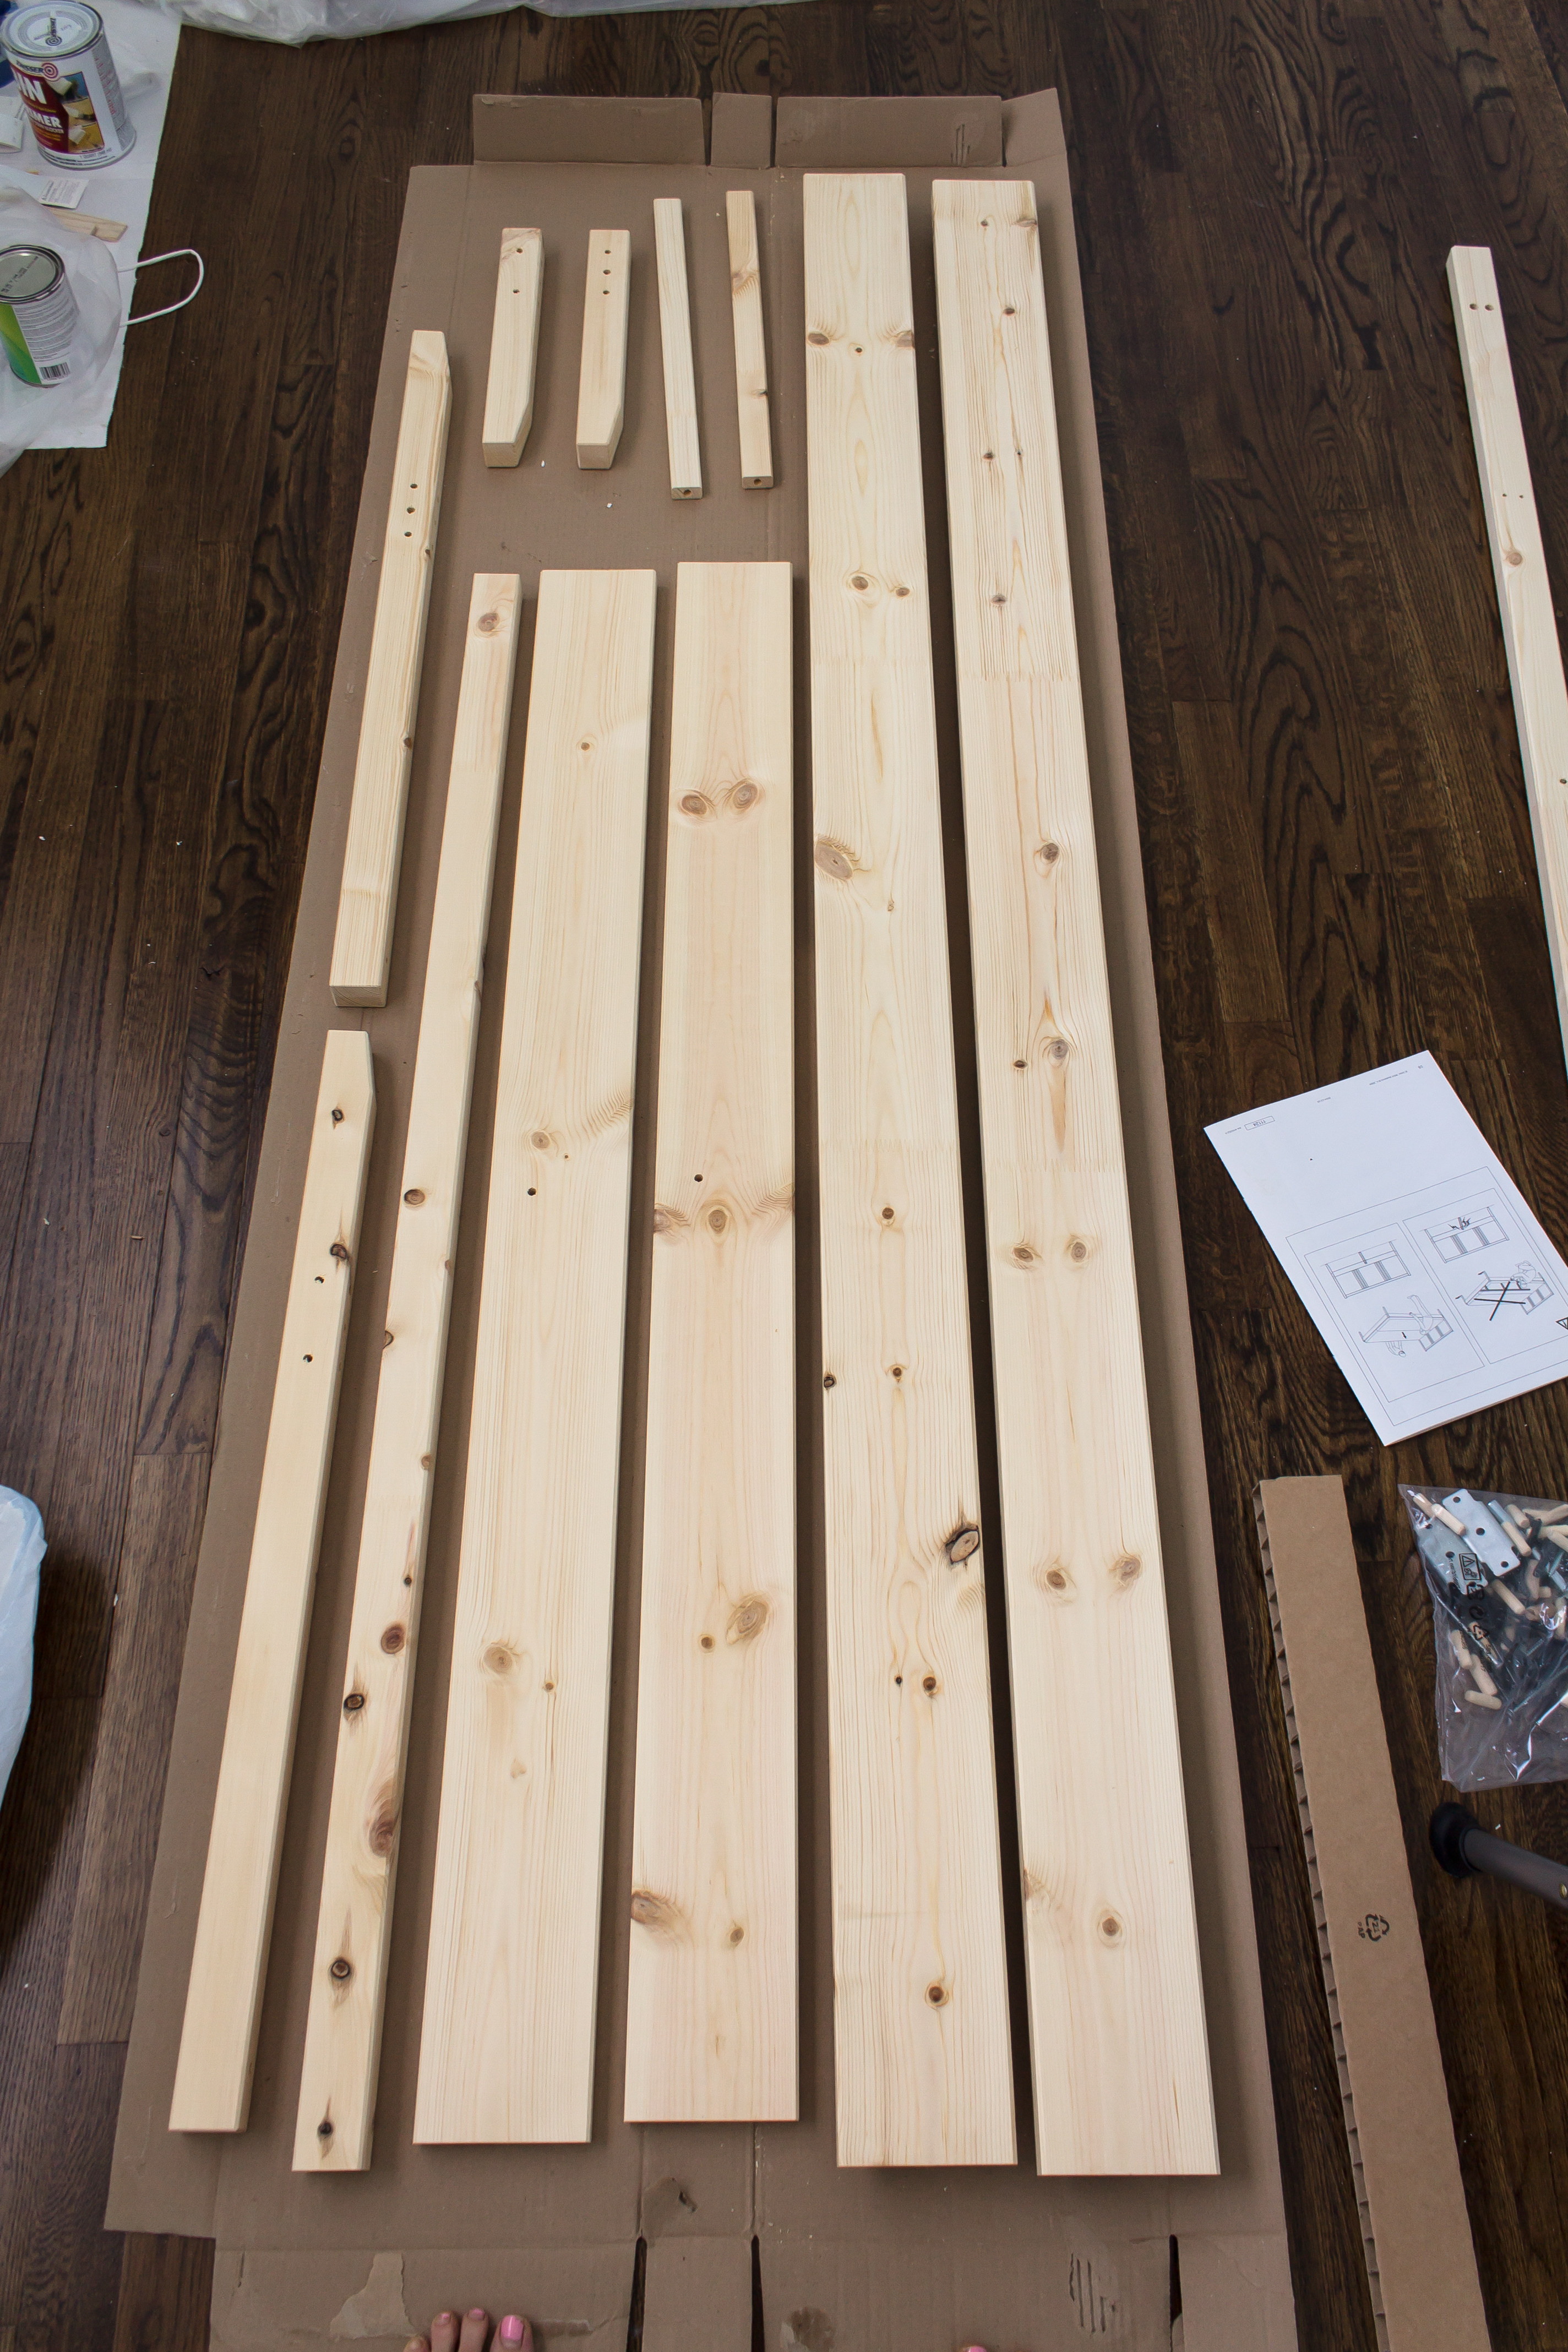
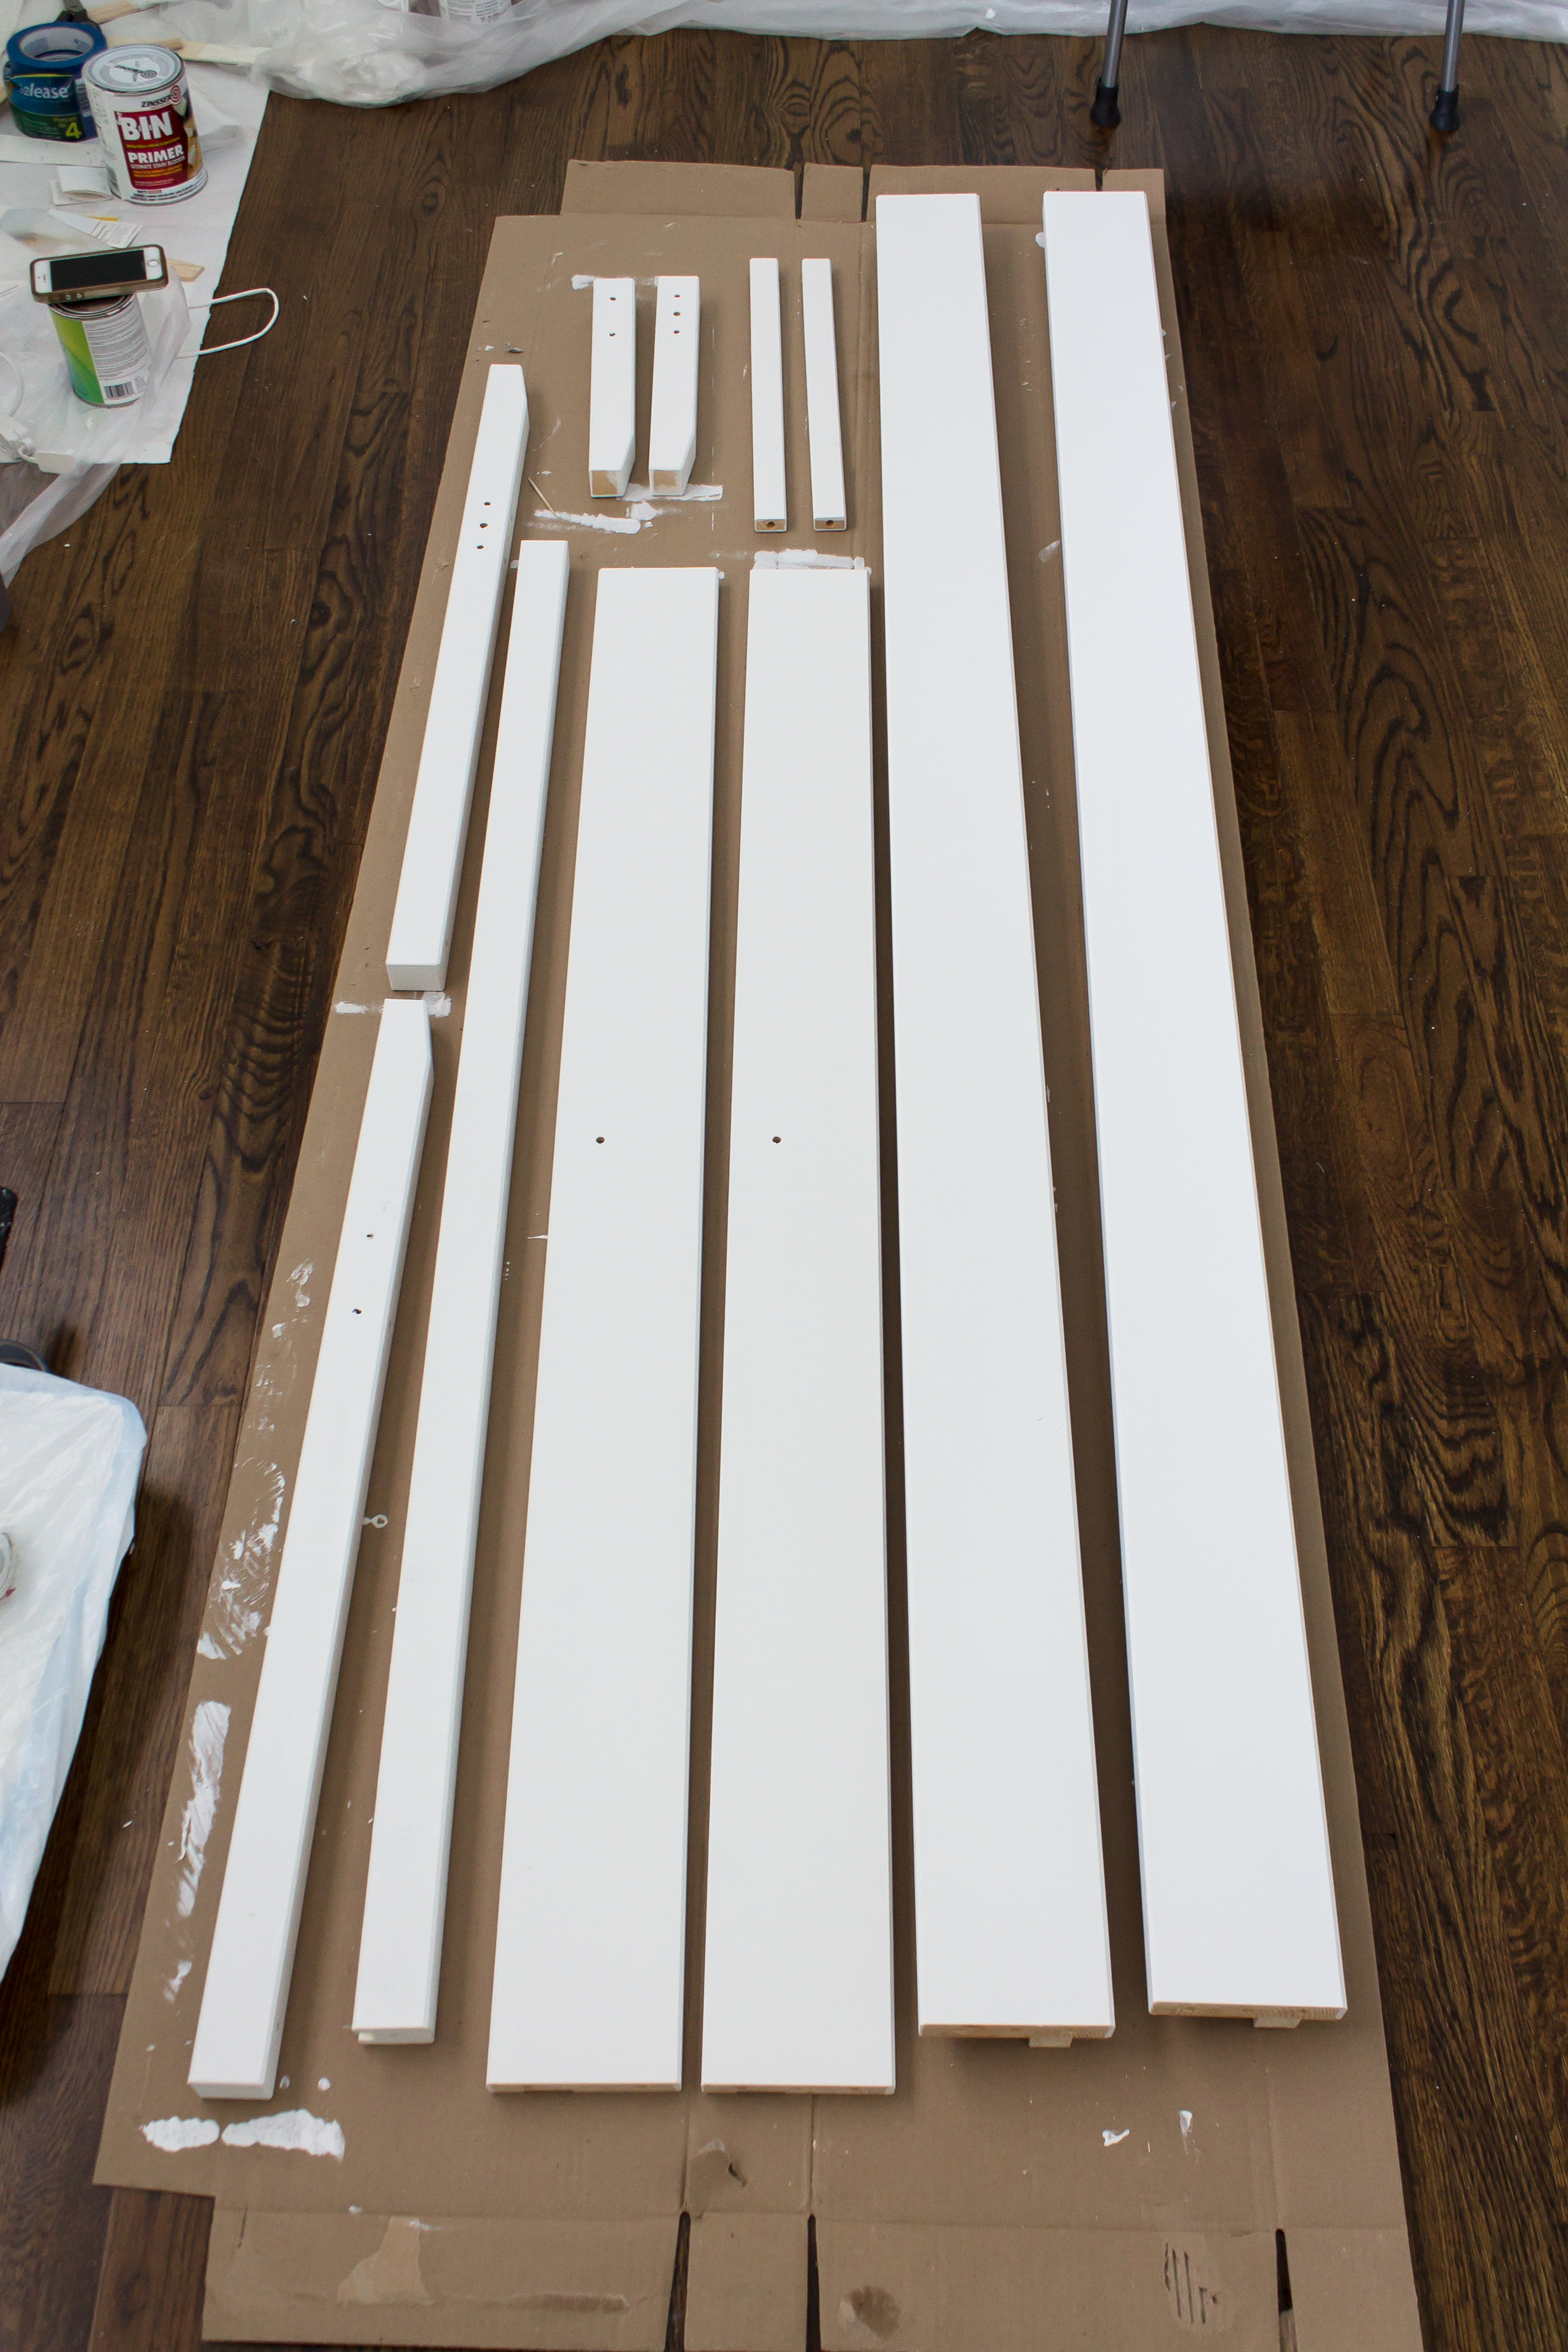
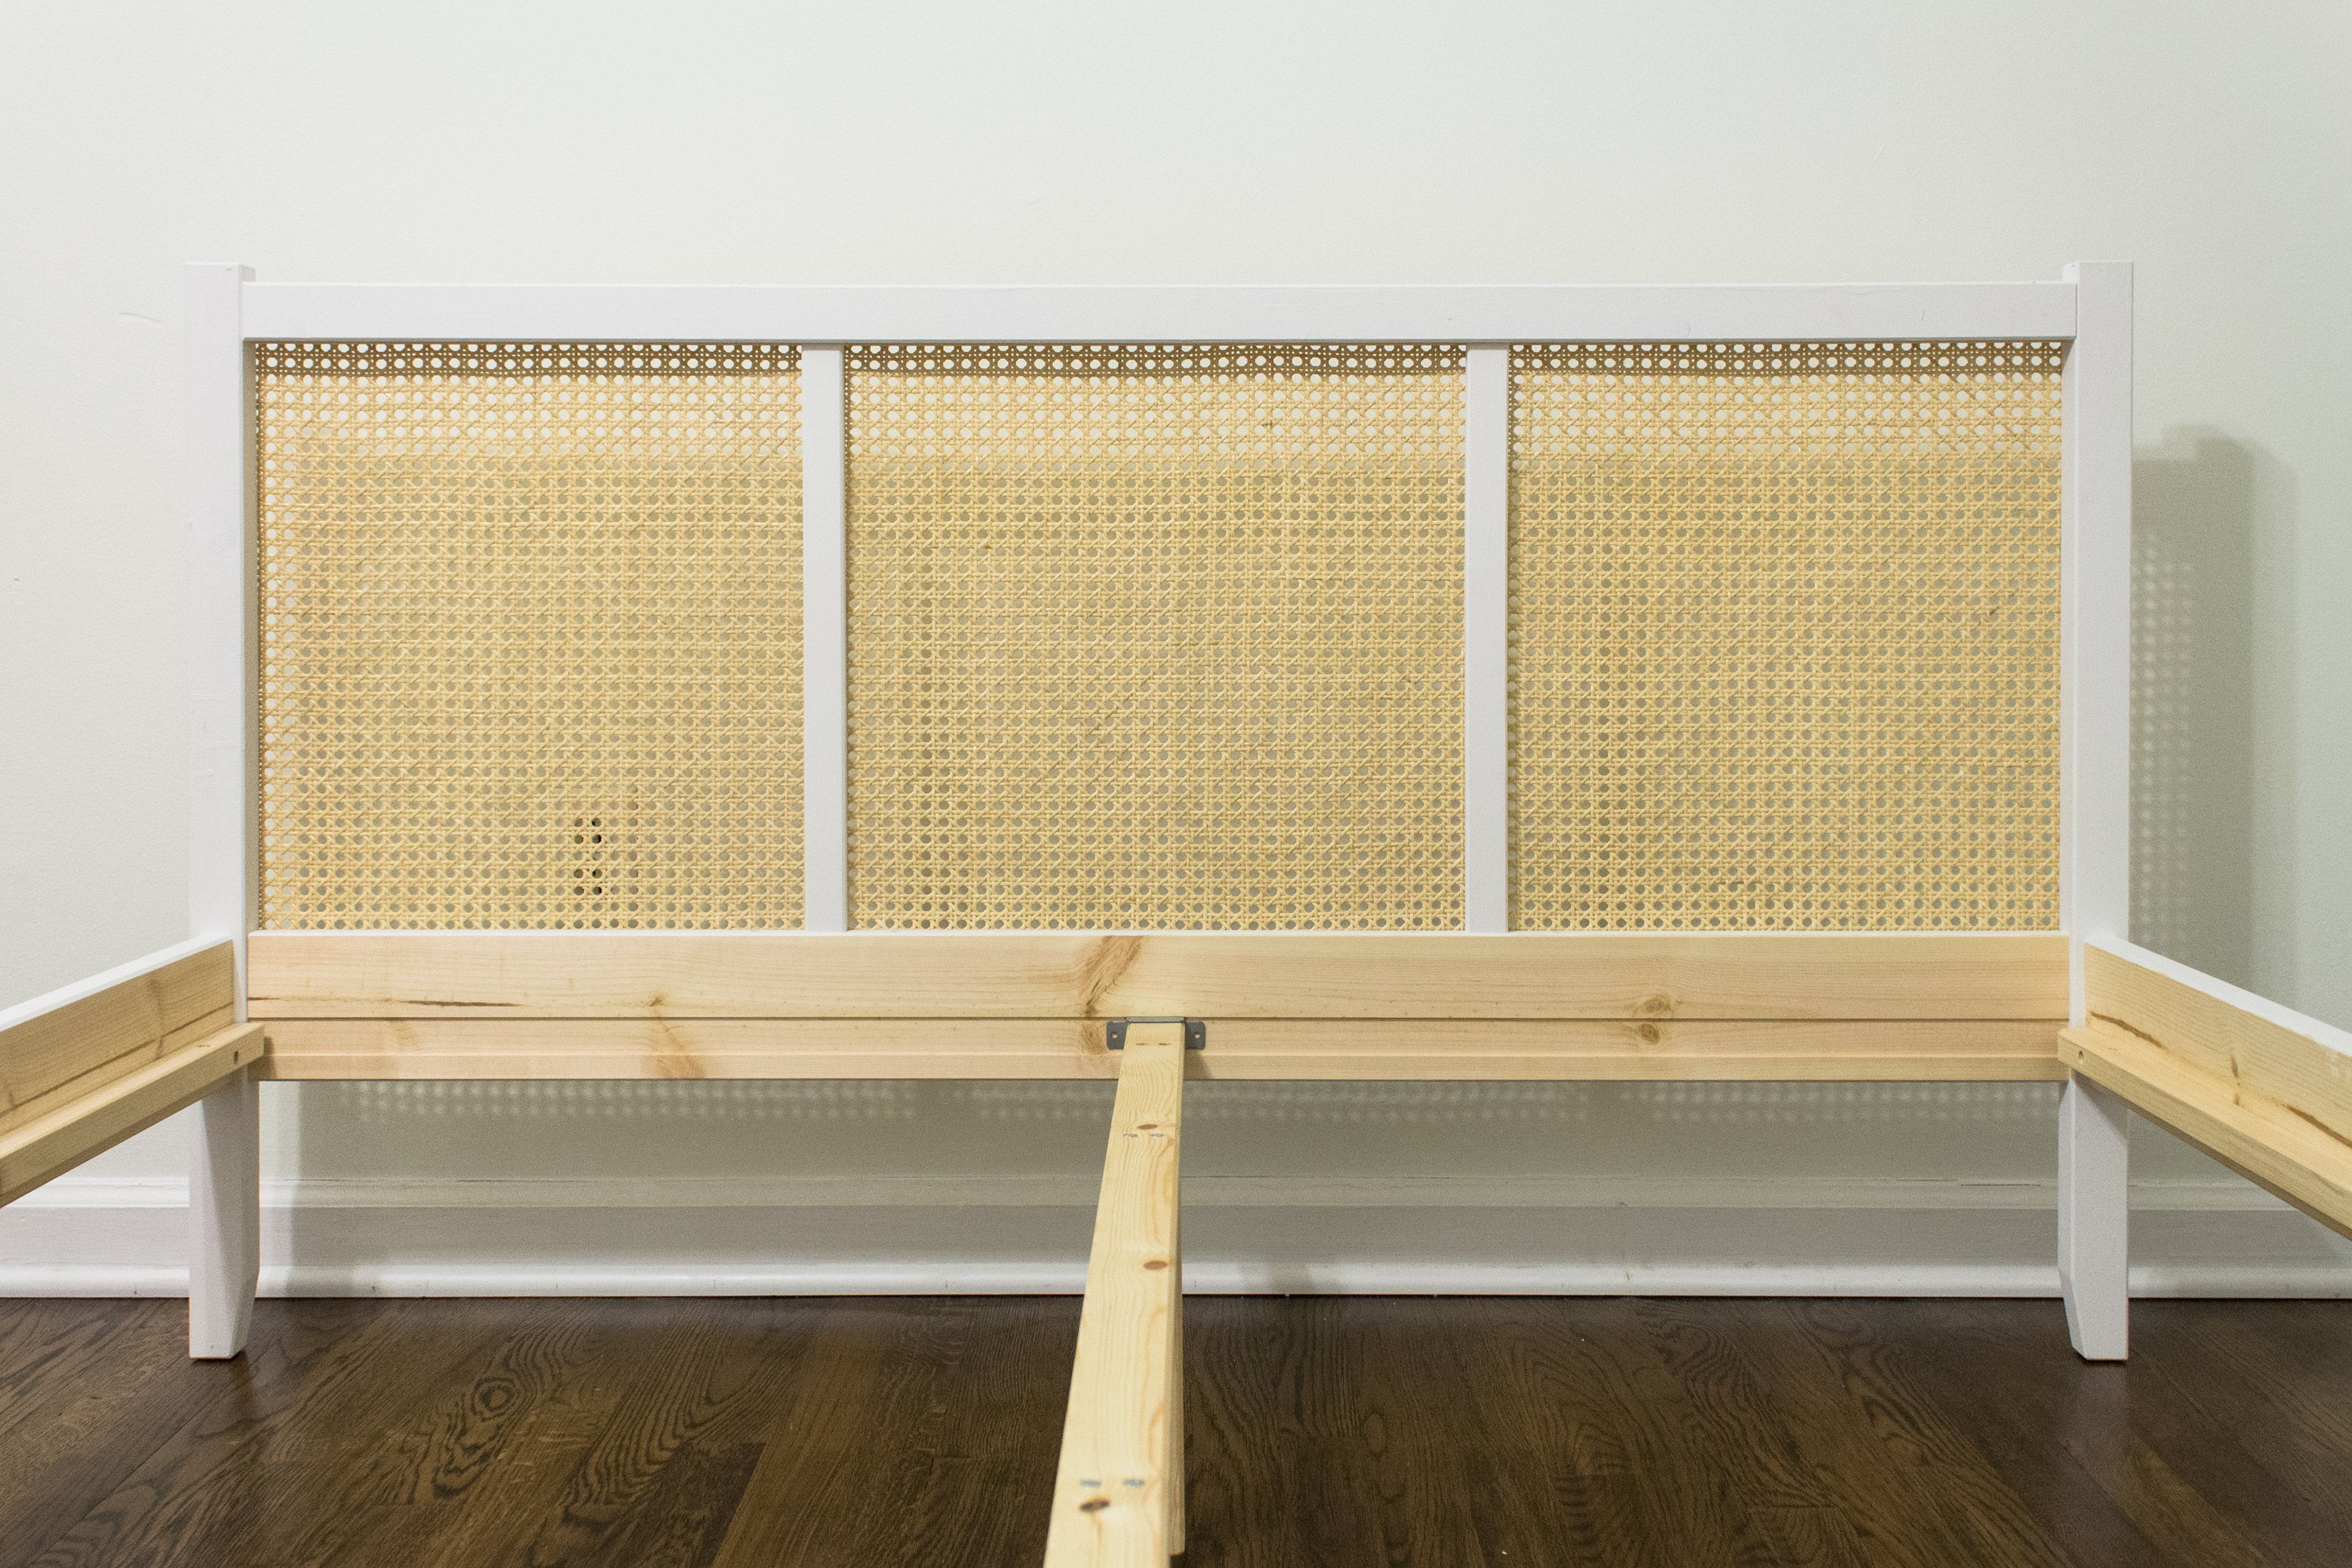
Step 1: Count all of your IKEA pieces and paint all of the wood with white paint. I omitted 4 of the wooden posts on the headboard because I like the look of just two simple posts dividing the cane backing. You can use all of the wooden posts that come with the package or just the middle post on each side.
Step 2: Assemble the headboard per the IKEA instructions.
Step 3: Place the headboard front-side down on the floor and stretch the cane backing onto the back of the headboard. It is helpful to have someone else to help you during this step so you can keep the cane backing taught. Using a staple gun, staple the cane backing around the wooden edges of the headboard, starting with one side, working across the top (or bottom), working across the bottom (or top), stapling down the other side, then stapling along the small wooden pieces in the middle of the headboard. Make sure to keep the caning tight the whole time so your headboard doesn’t look wrinkled. Cut off any excess caning that peeks out when you look at the headboard from the front. Shout out to my mom and sister for being my extra hands and help for this step.
Optional: I kept mine simple to go with the simple, calm aesthetic I was going for in our guest bedroom, but if you want to make the bed look even more like the original inspiration, glue painted trim to the sides and bottom of the bed and add curtain finials to the top of the headboard posts. You can also get this kit to raise the bed higher, if you prefer a taller bed. A tip for those in small spaces or without access to a saw, Lowe’s will cut wood for you in the store for free! I have only ever used this service for plywood, but if you want to add molding to the edges of the bed, bring your measurements to the store when you pick up the molding and see if they will cut it for you there.
Step 4: Assemble the rest of the IKEA bed per IKEA instructions, adding the headboard to the bed as you would if you had not done anything to it.
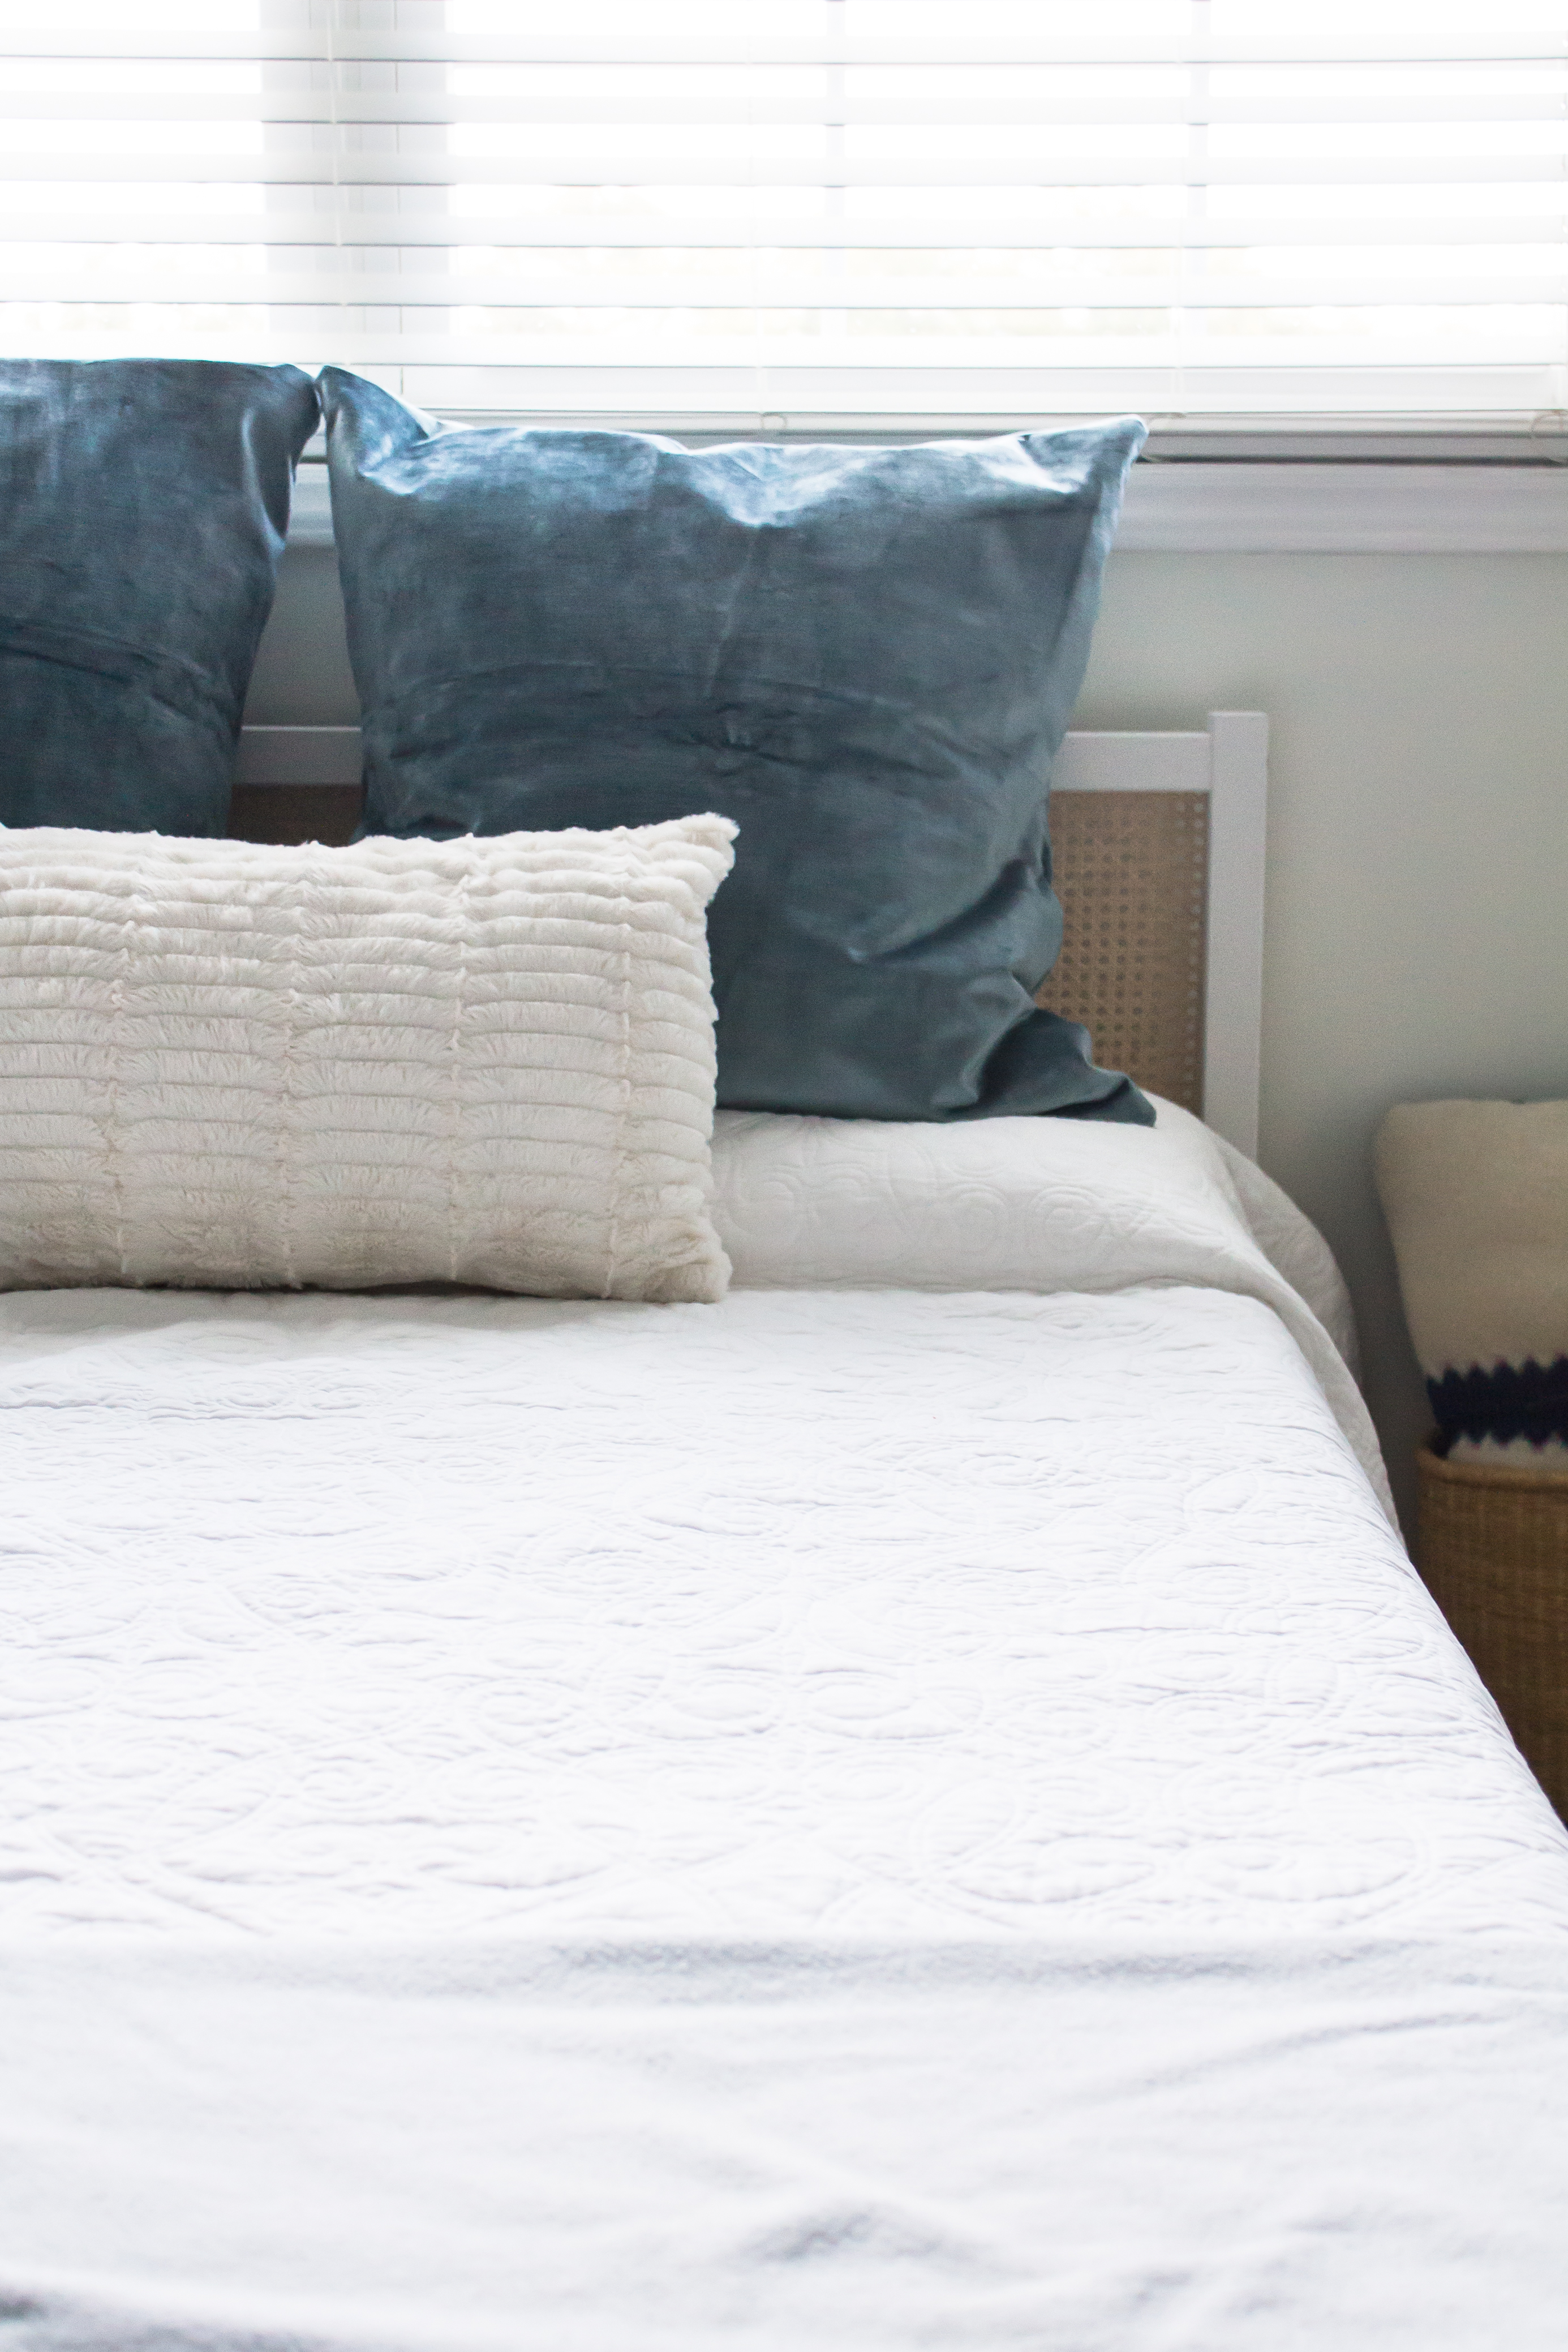
Enjoy your newly beautified bed! Mine turned out better than most of my family expected, and I feel like a crafting queen whenever I look at it :) While we’re not quite finished with the room, this DIY cane bed makes the room look so much nicer than a plain wooden IKEA bed frame would have, and especially better than a not-so-useful XL twin with no headboard or footboard.
If you tackle this DIY cane bed for your own home, let me know how it goes! I’d love to see!
p.s. I made those velvet Euro shams (with much help and guidance from my talented momma) and am super proud of those too. It has been a good DIY season around here. :)

pro tip: have helpful, hilarious, beautiful mom and sister over to help for moral support and extra hands and if at all possible eat old but still yummy pumpkin muffins