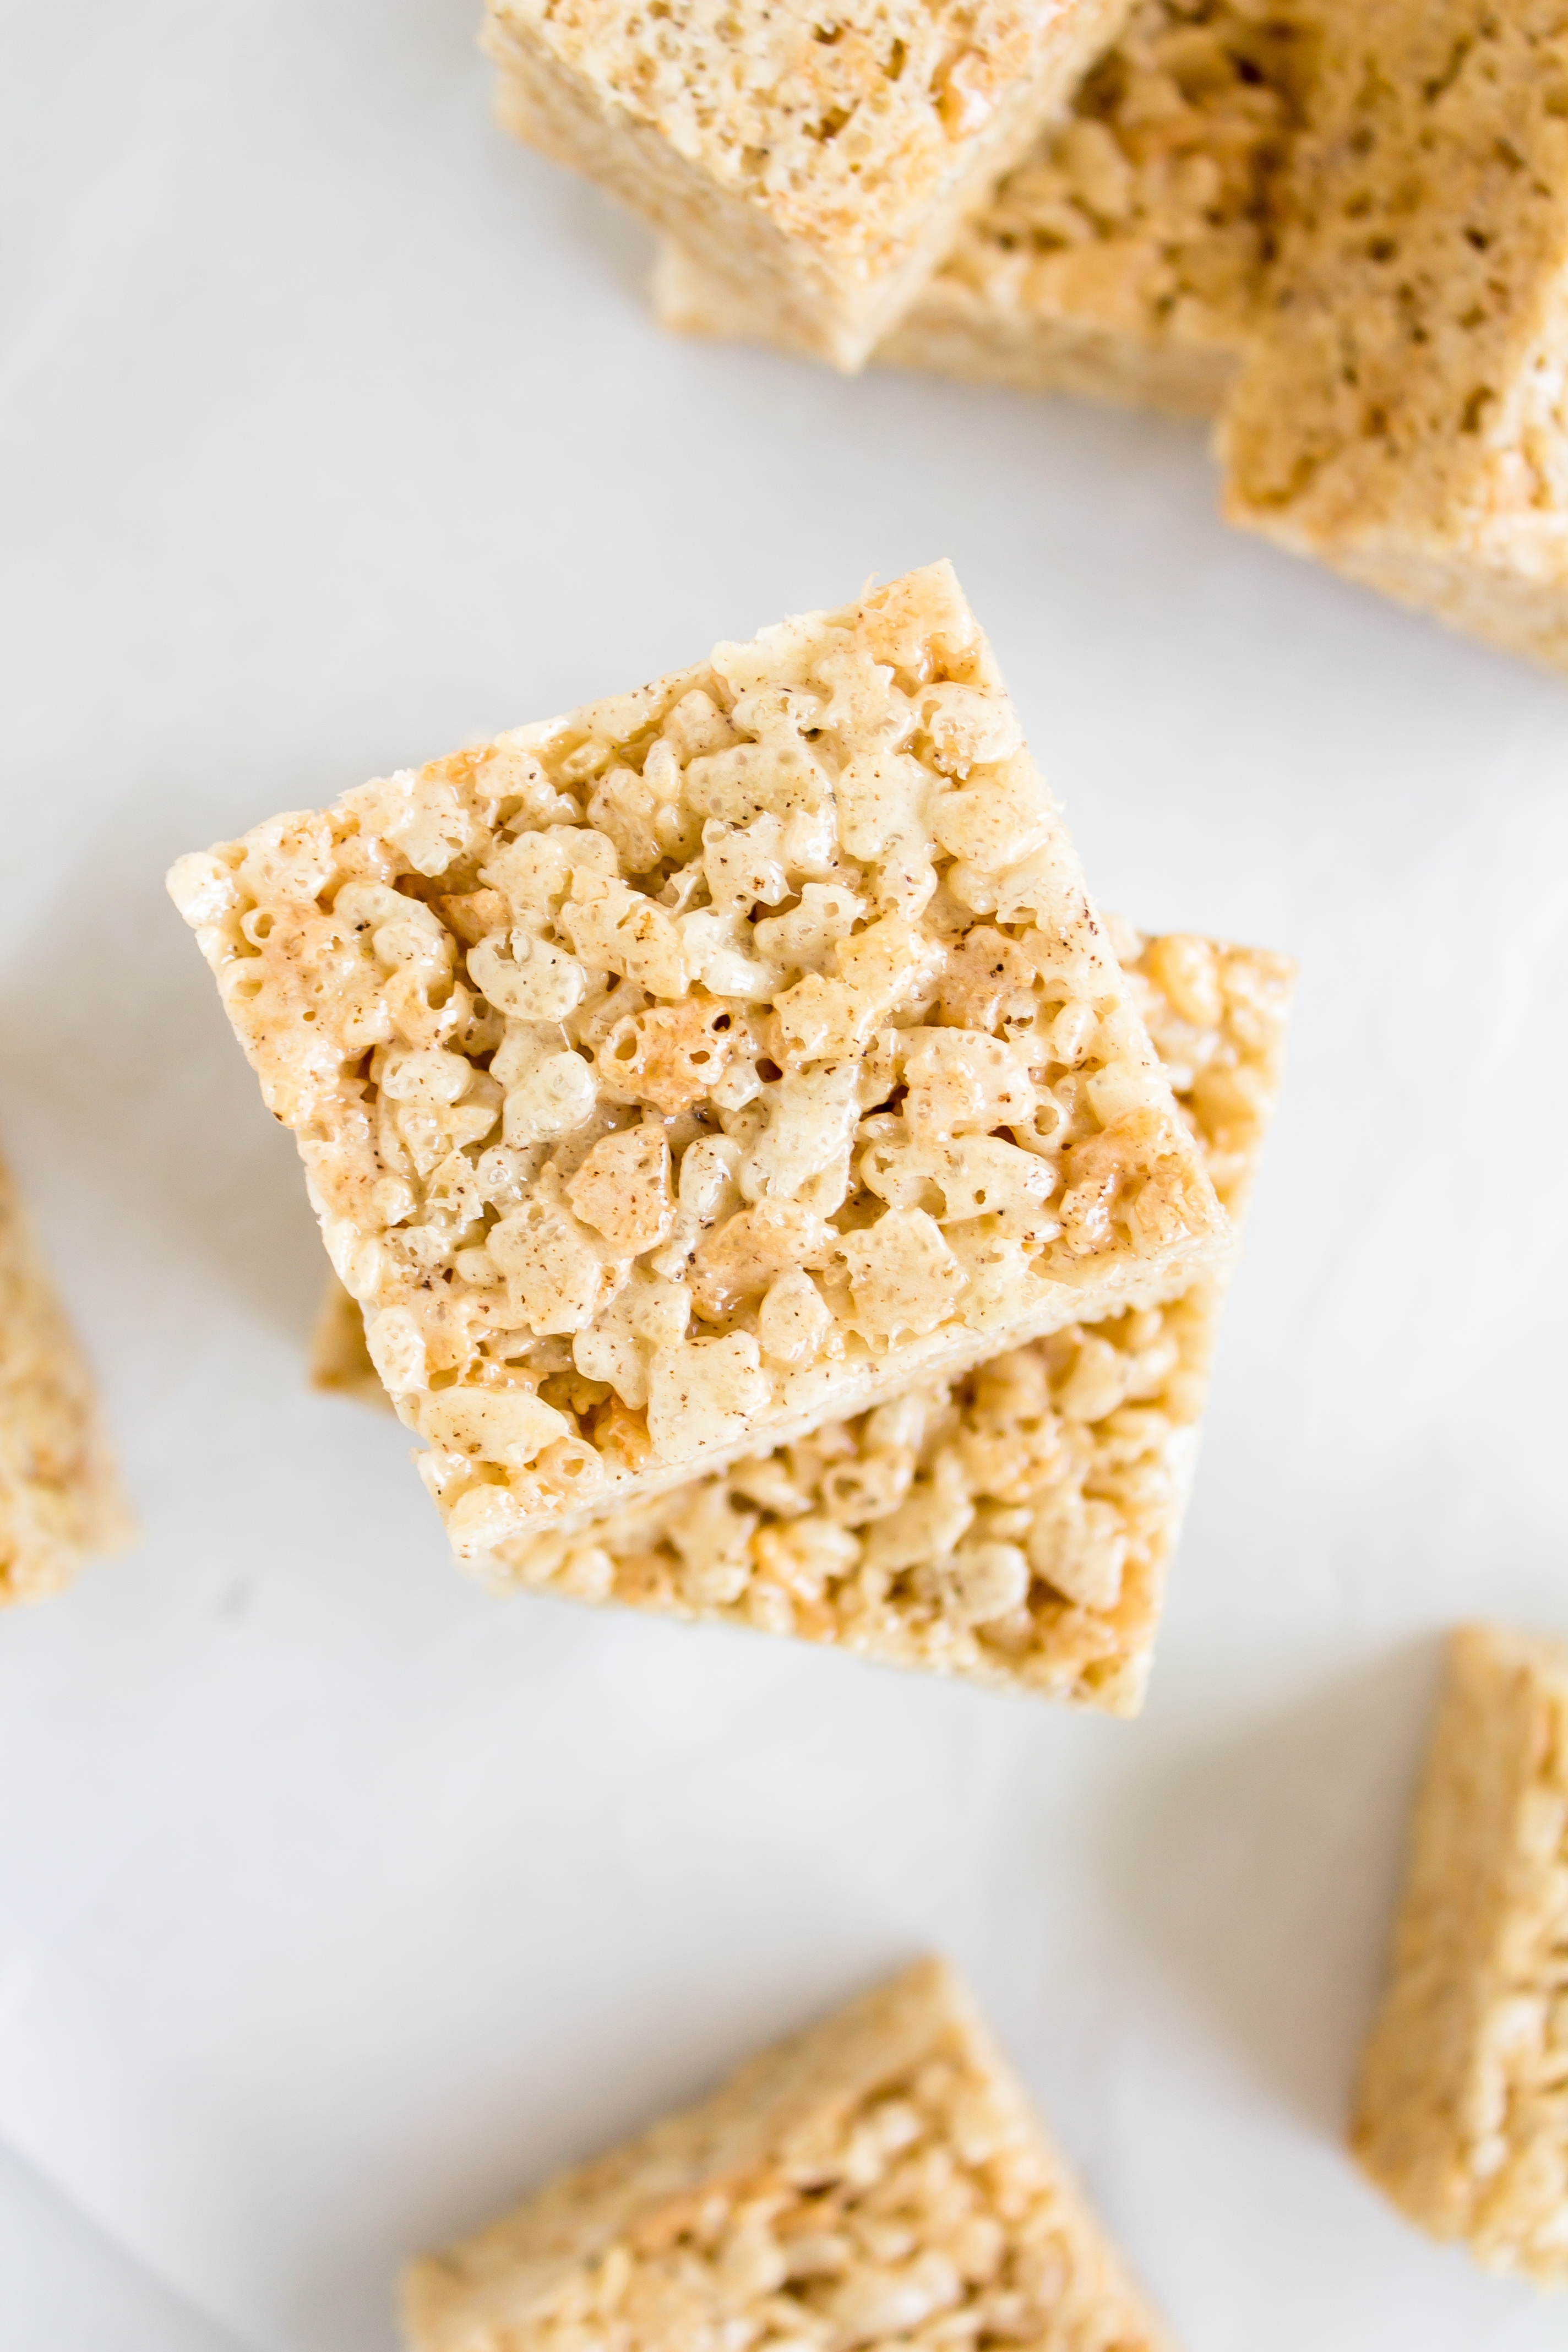
With Memorial Day behind us and June within arms reach, summer really feels like it is almost here. North Carolina summers are hot and humid, and sometimes the last thing I want to do is heat up the house even more by using the oven. Cue the no bake nostalgic childhood treat, upgraded with brown butter and sea salt: brown butter rice krispy treats.
We are taking one of the easiest (and quickest) childhood snacks and amping up their sophistication. My family didn’t make rice krispy treats much when I was growing up, but the individually wrapped treats were a staple store-bought snack that other parents would bring to my siblings’ elementary school soccer games. I didn’t realize just how simple they are to make until my suitemates and I made them in our college dorm kitchen. If these treats can be made in a dorm kitchen, I really think they can be made most anywhere ;)
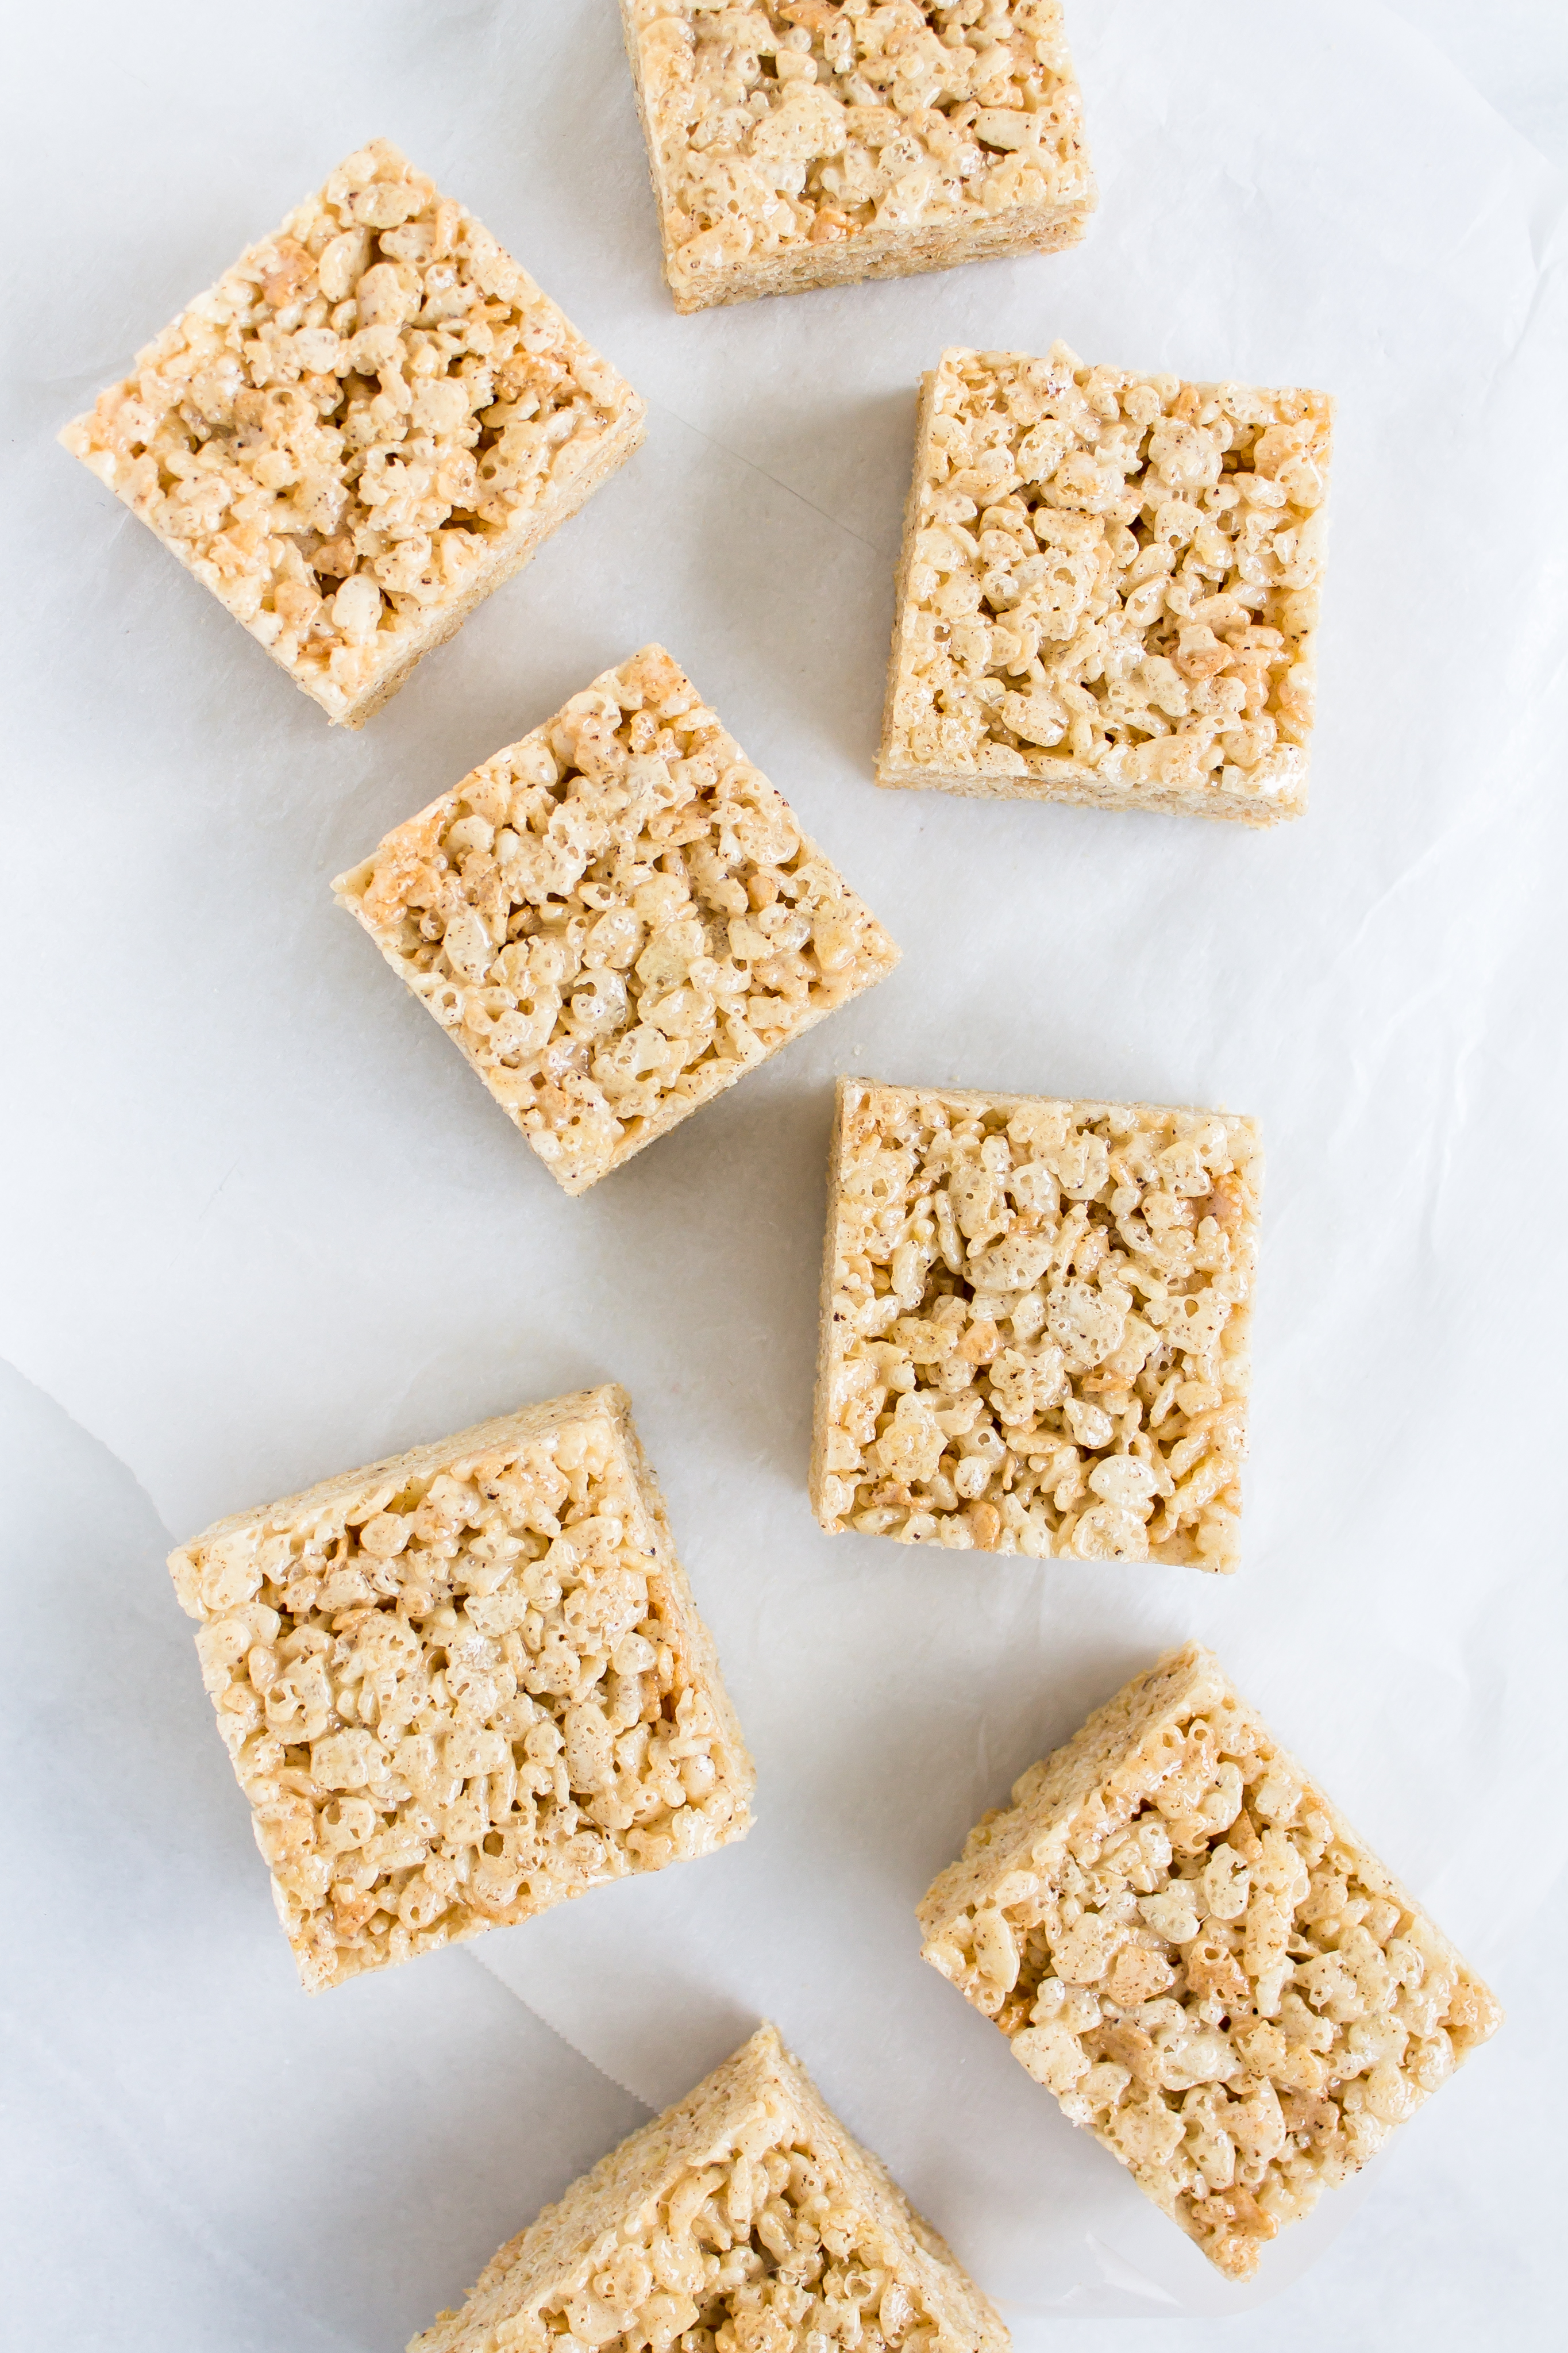
With just five ingredients and one extra step in the rice krispy-making process, salted brown butter rice krispy treats are the perfect contribution to those summer potlucks and poolside cookouts you already have on your calendar. Delicious, easy, and fast, with no need for an oven, these may be a new summer staple.
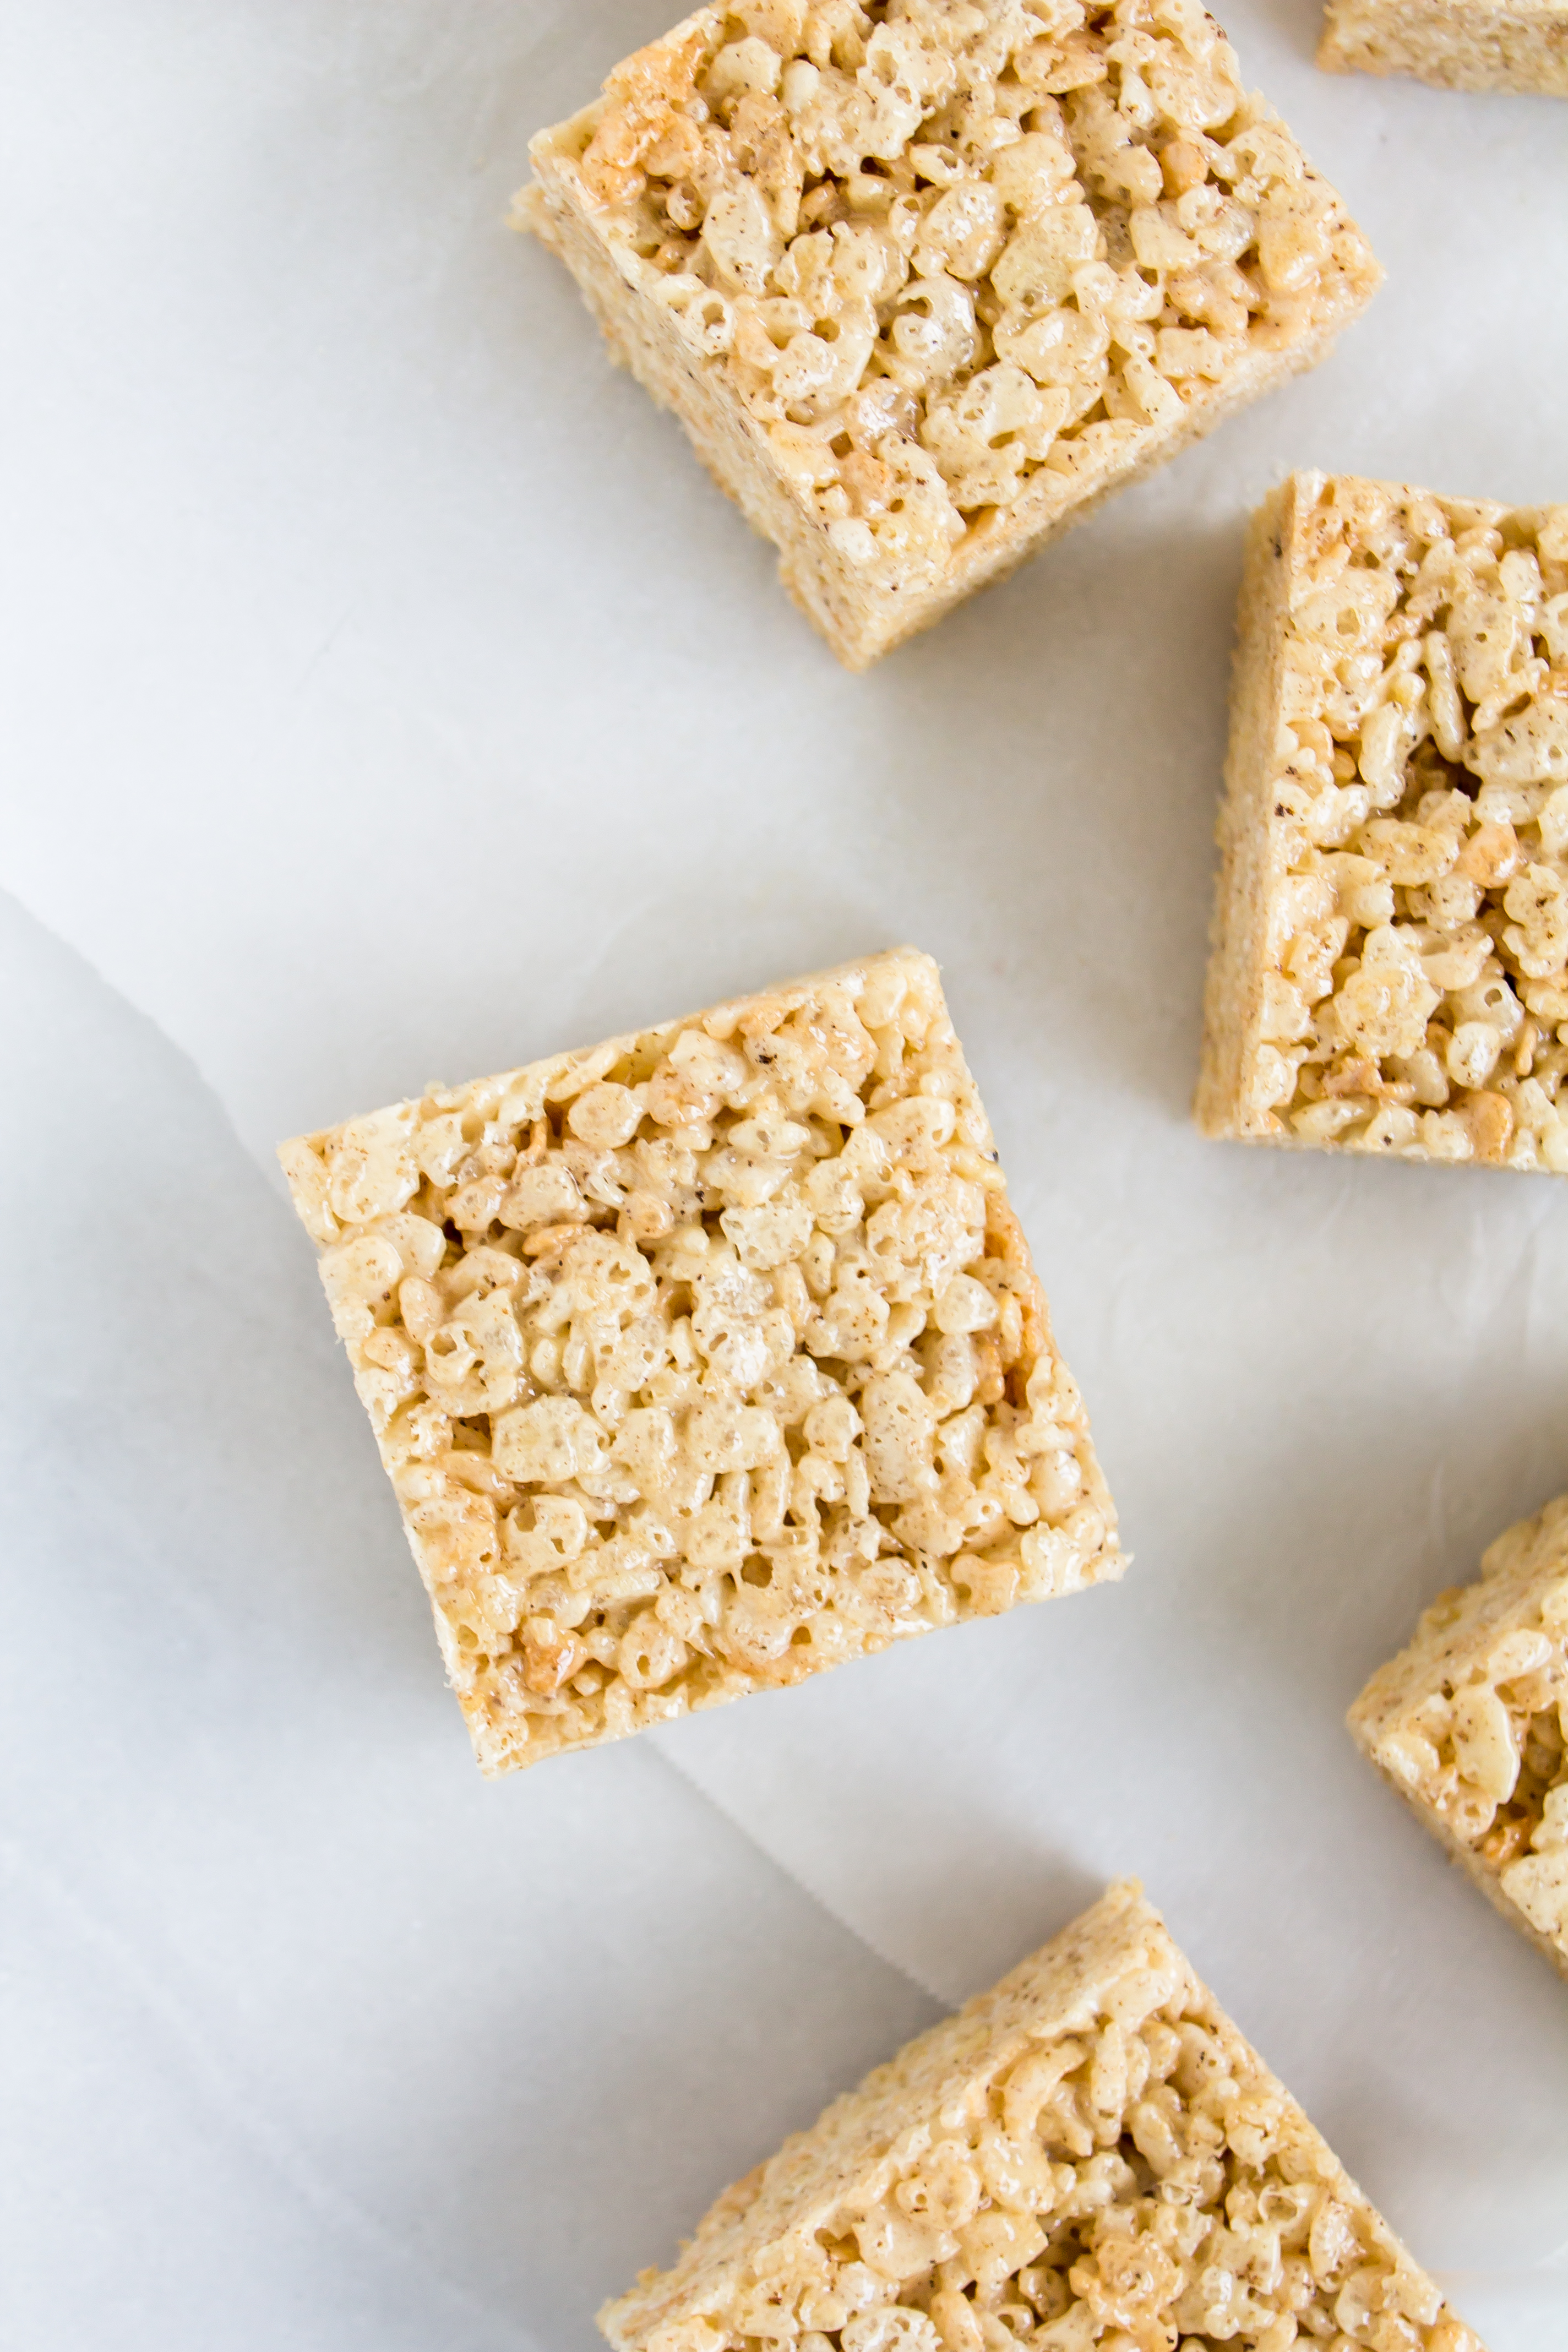
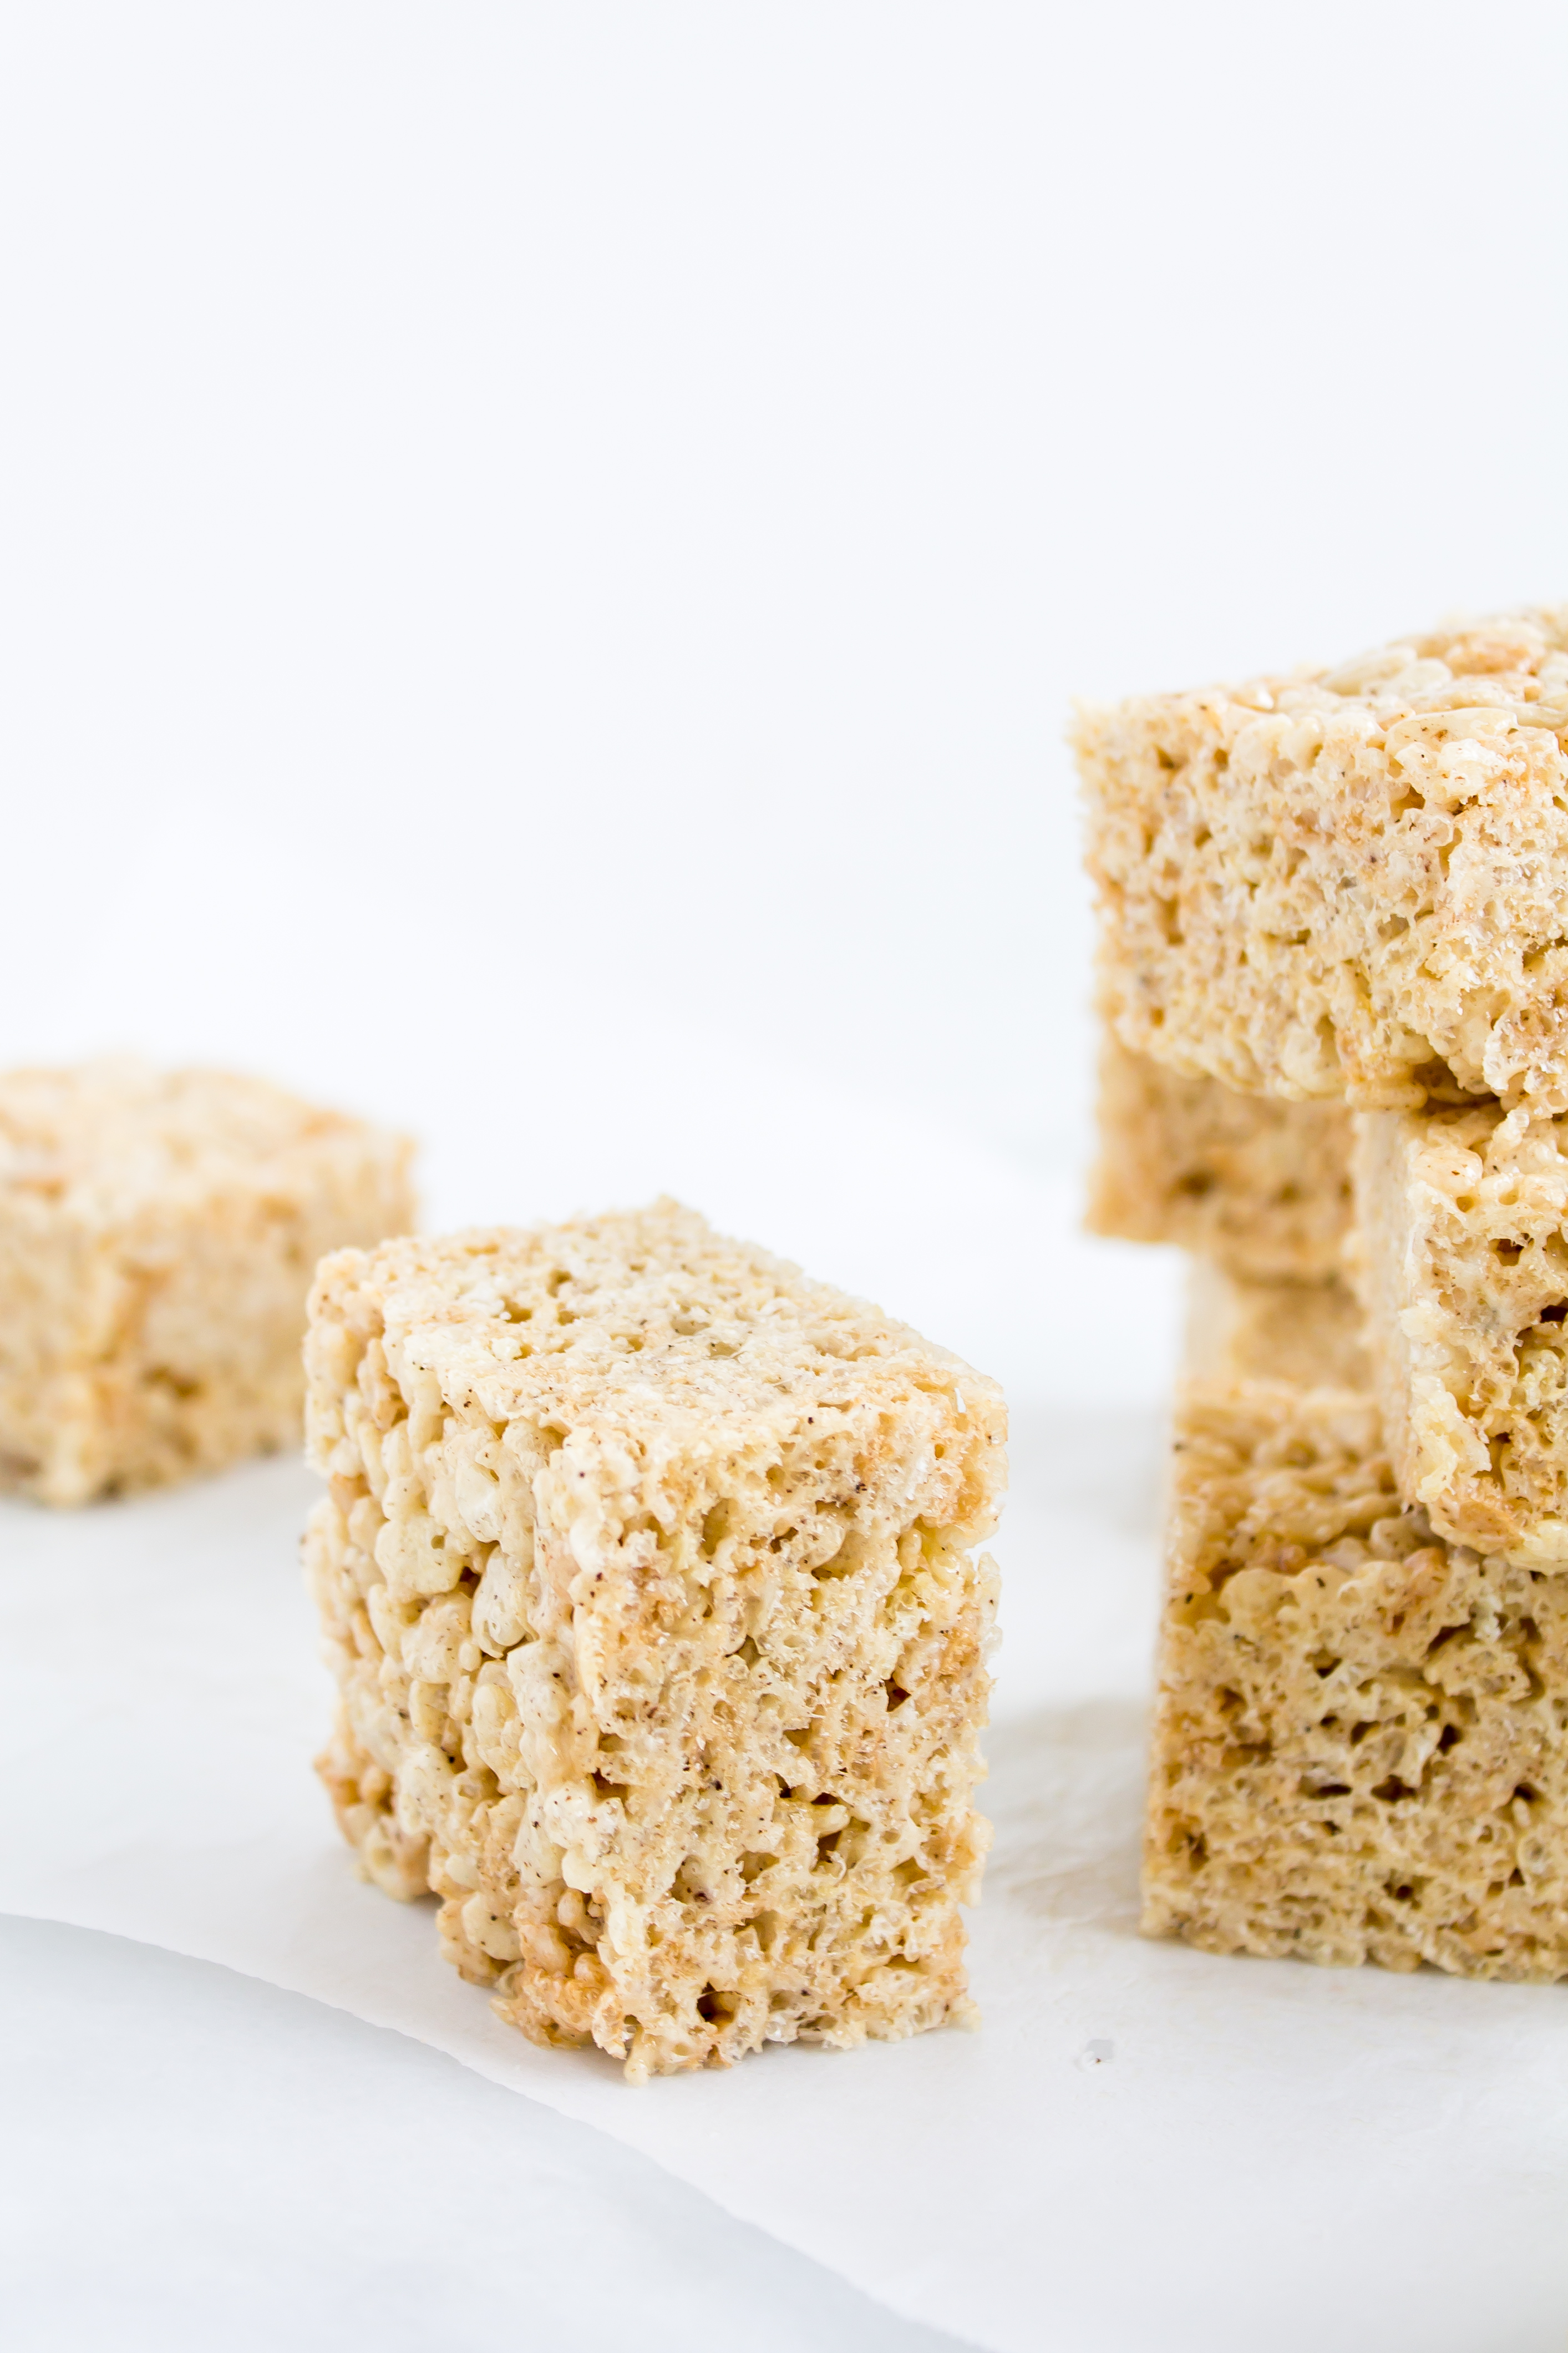
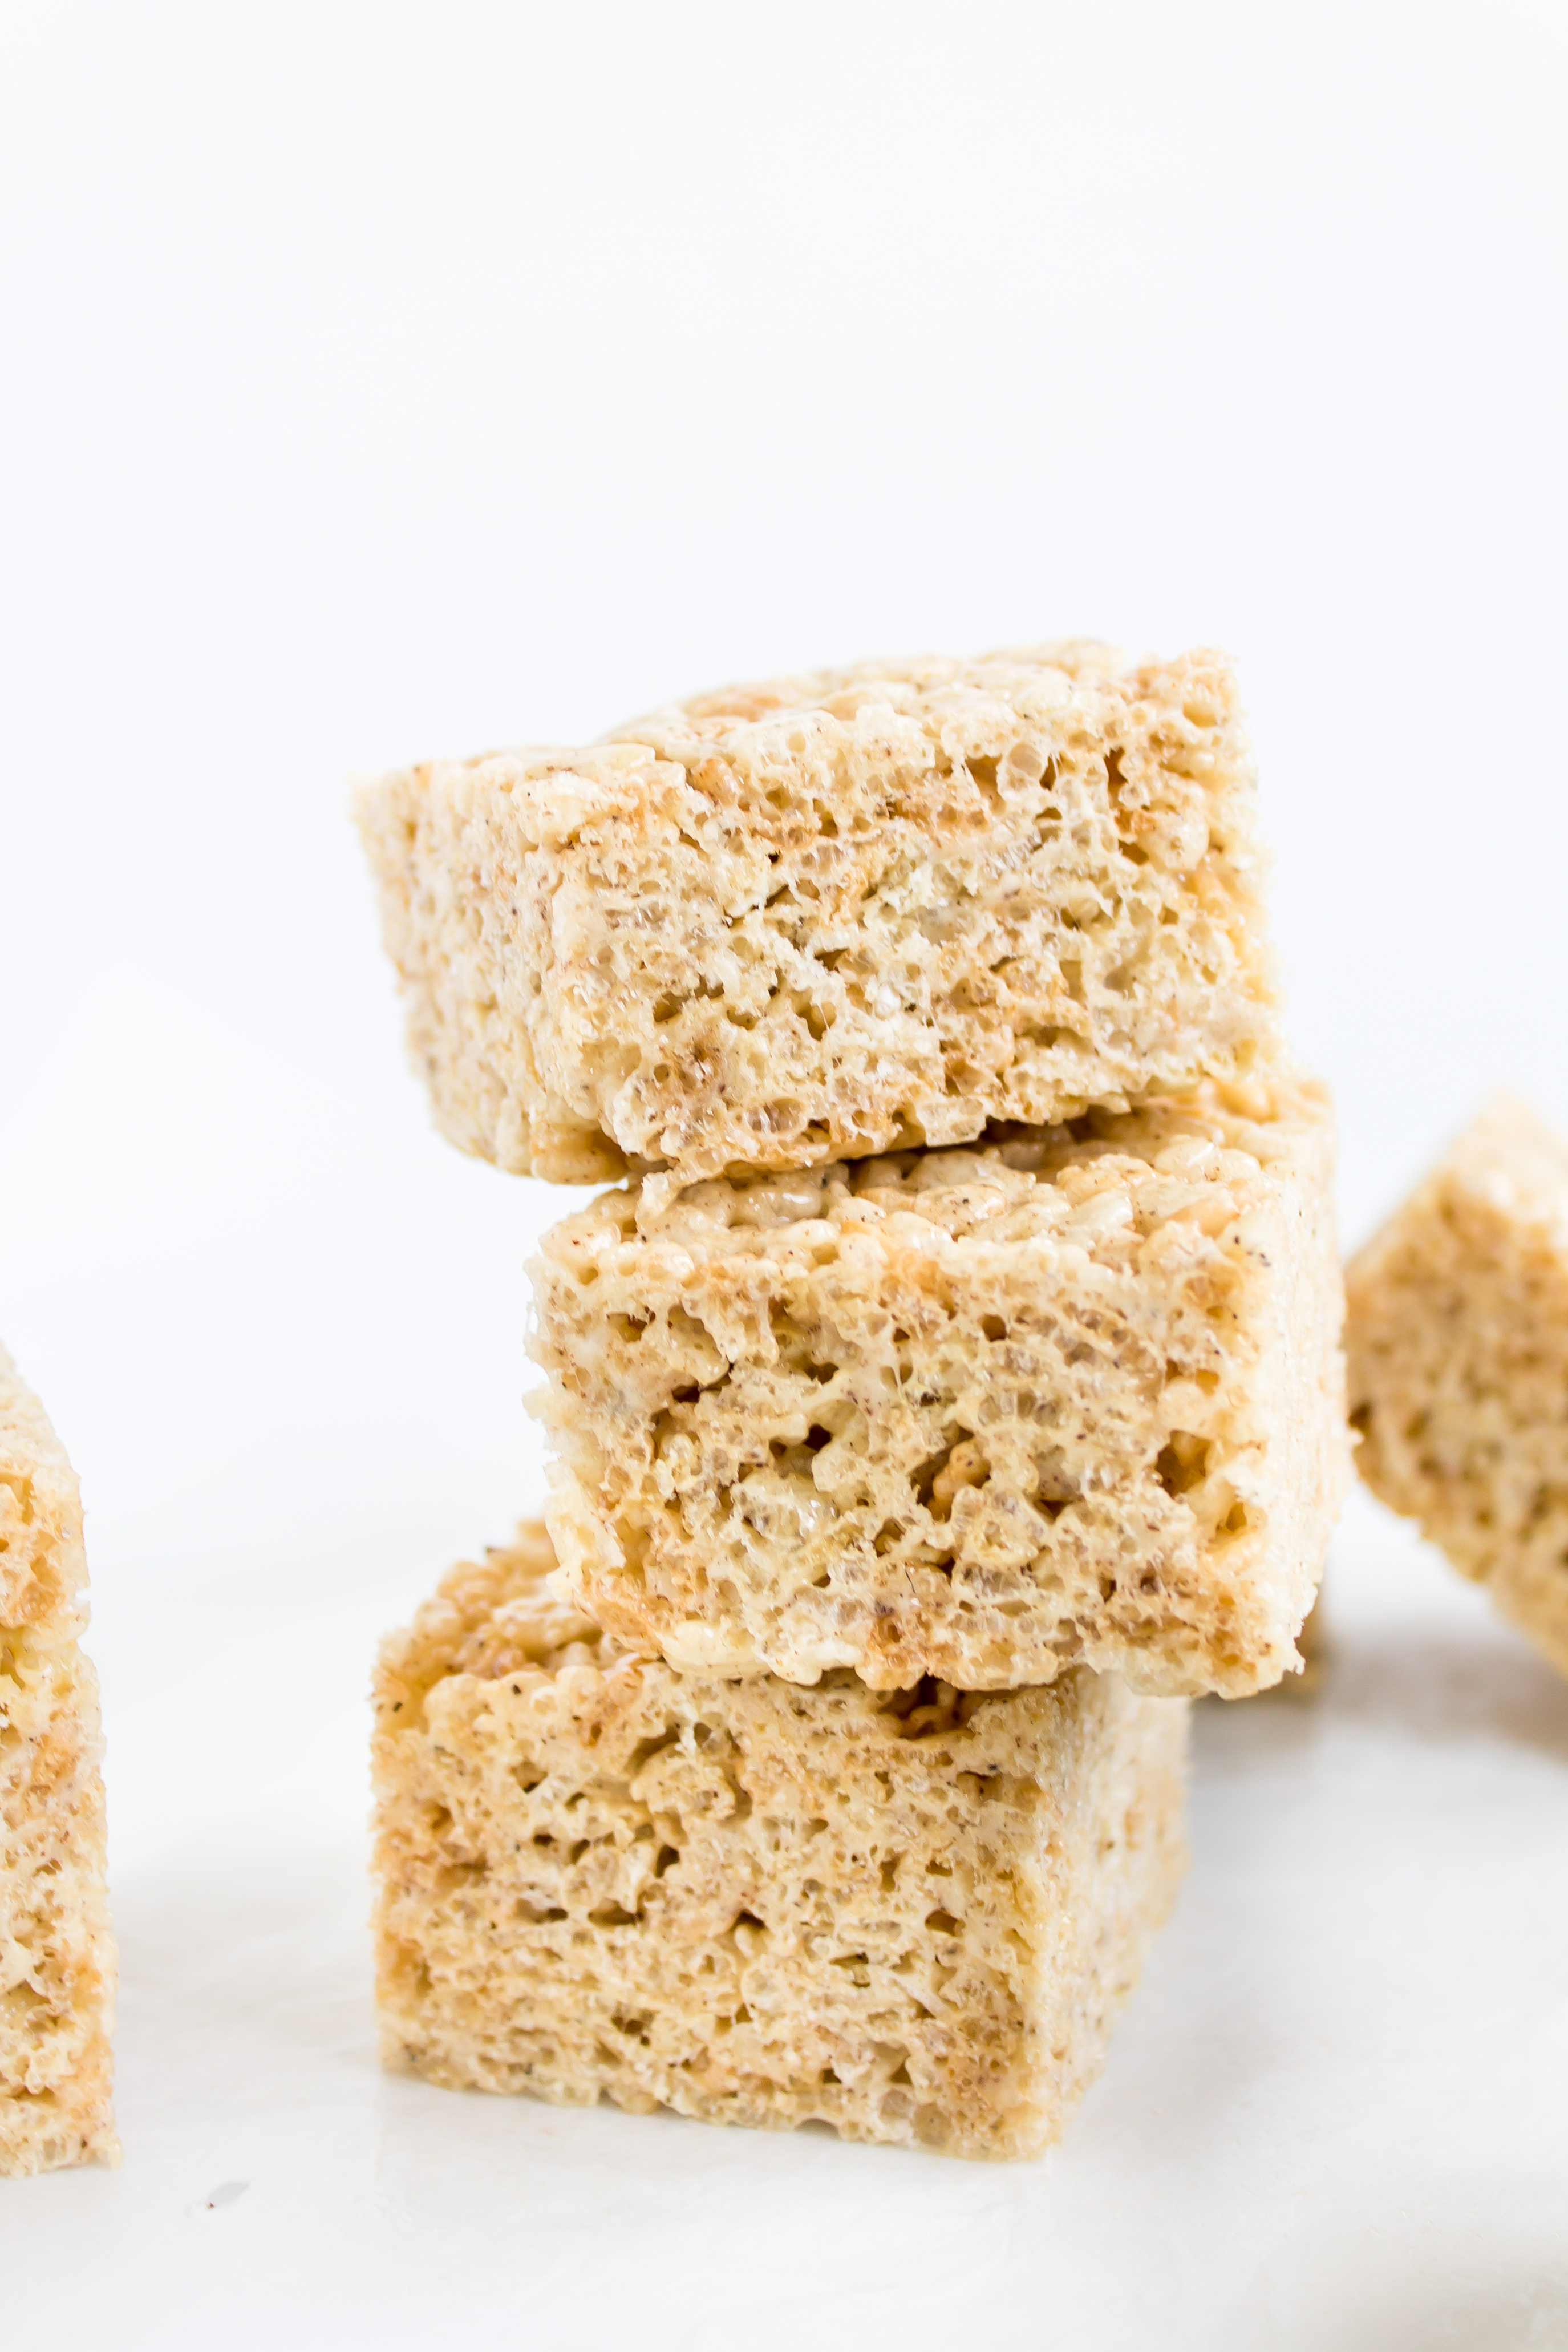
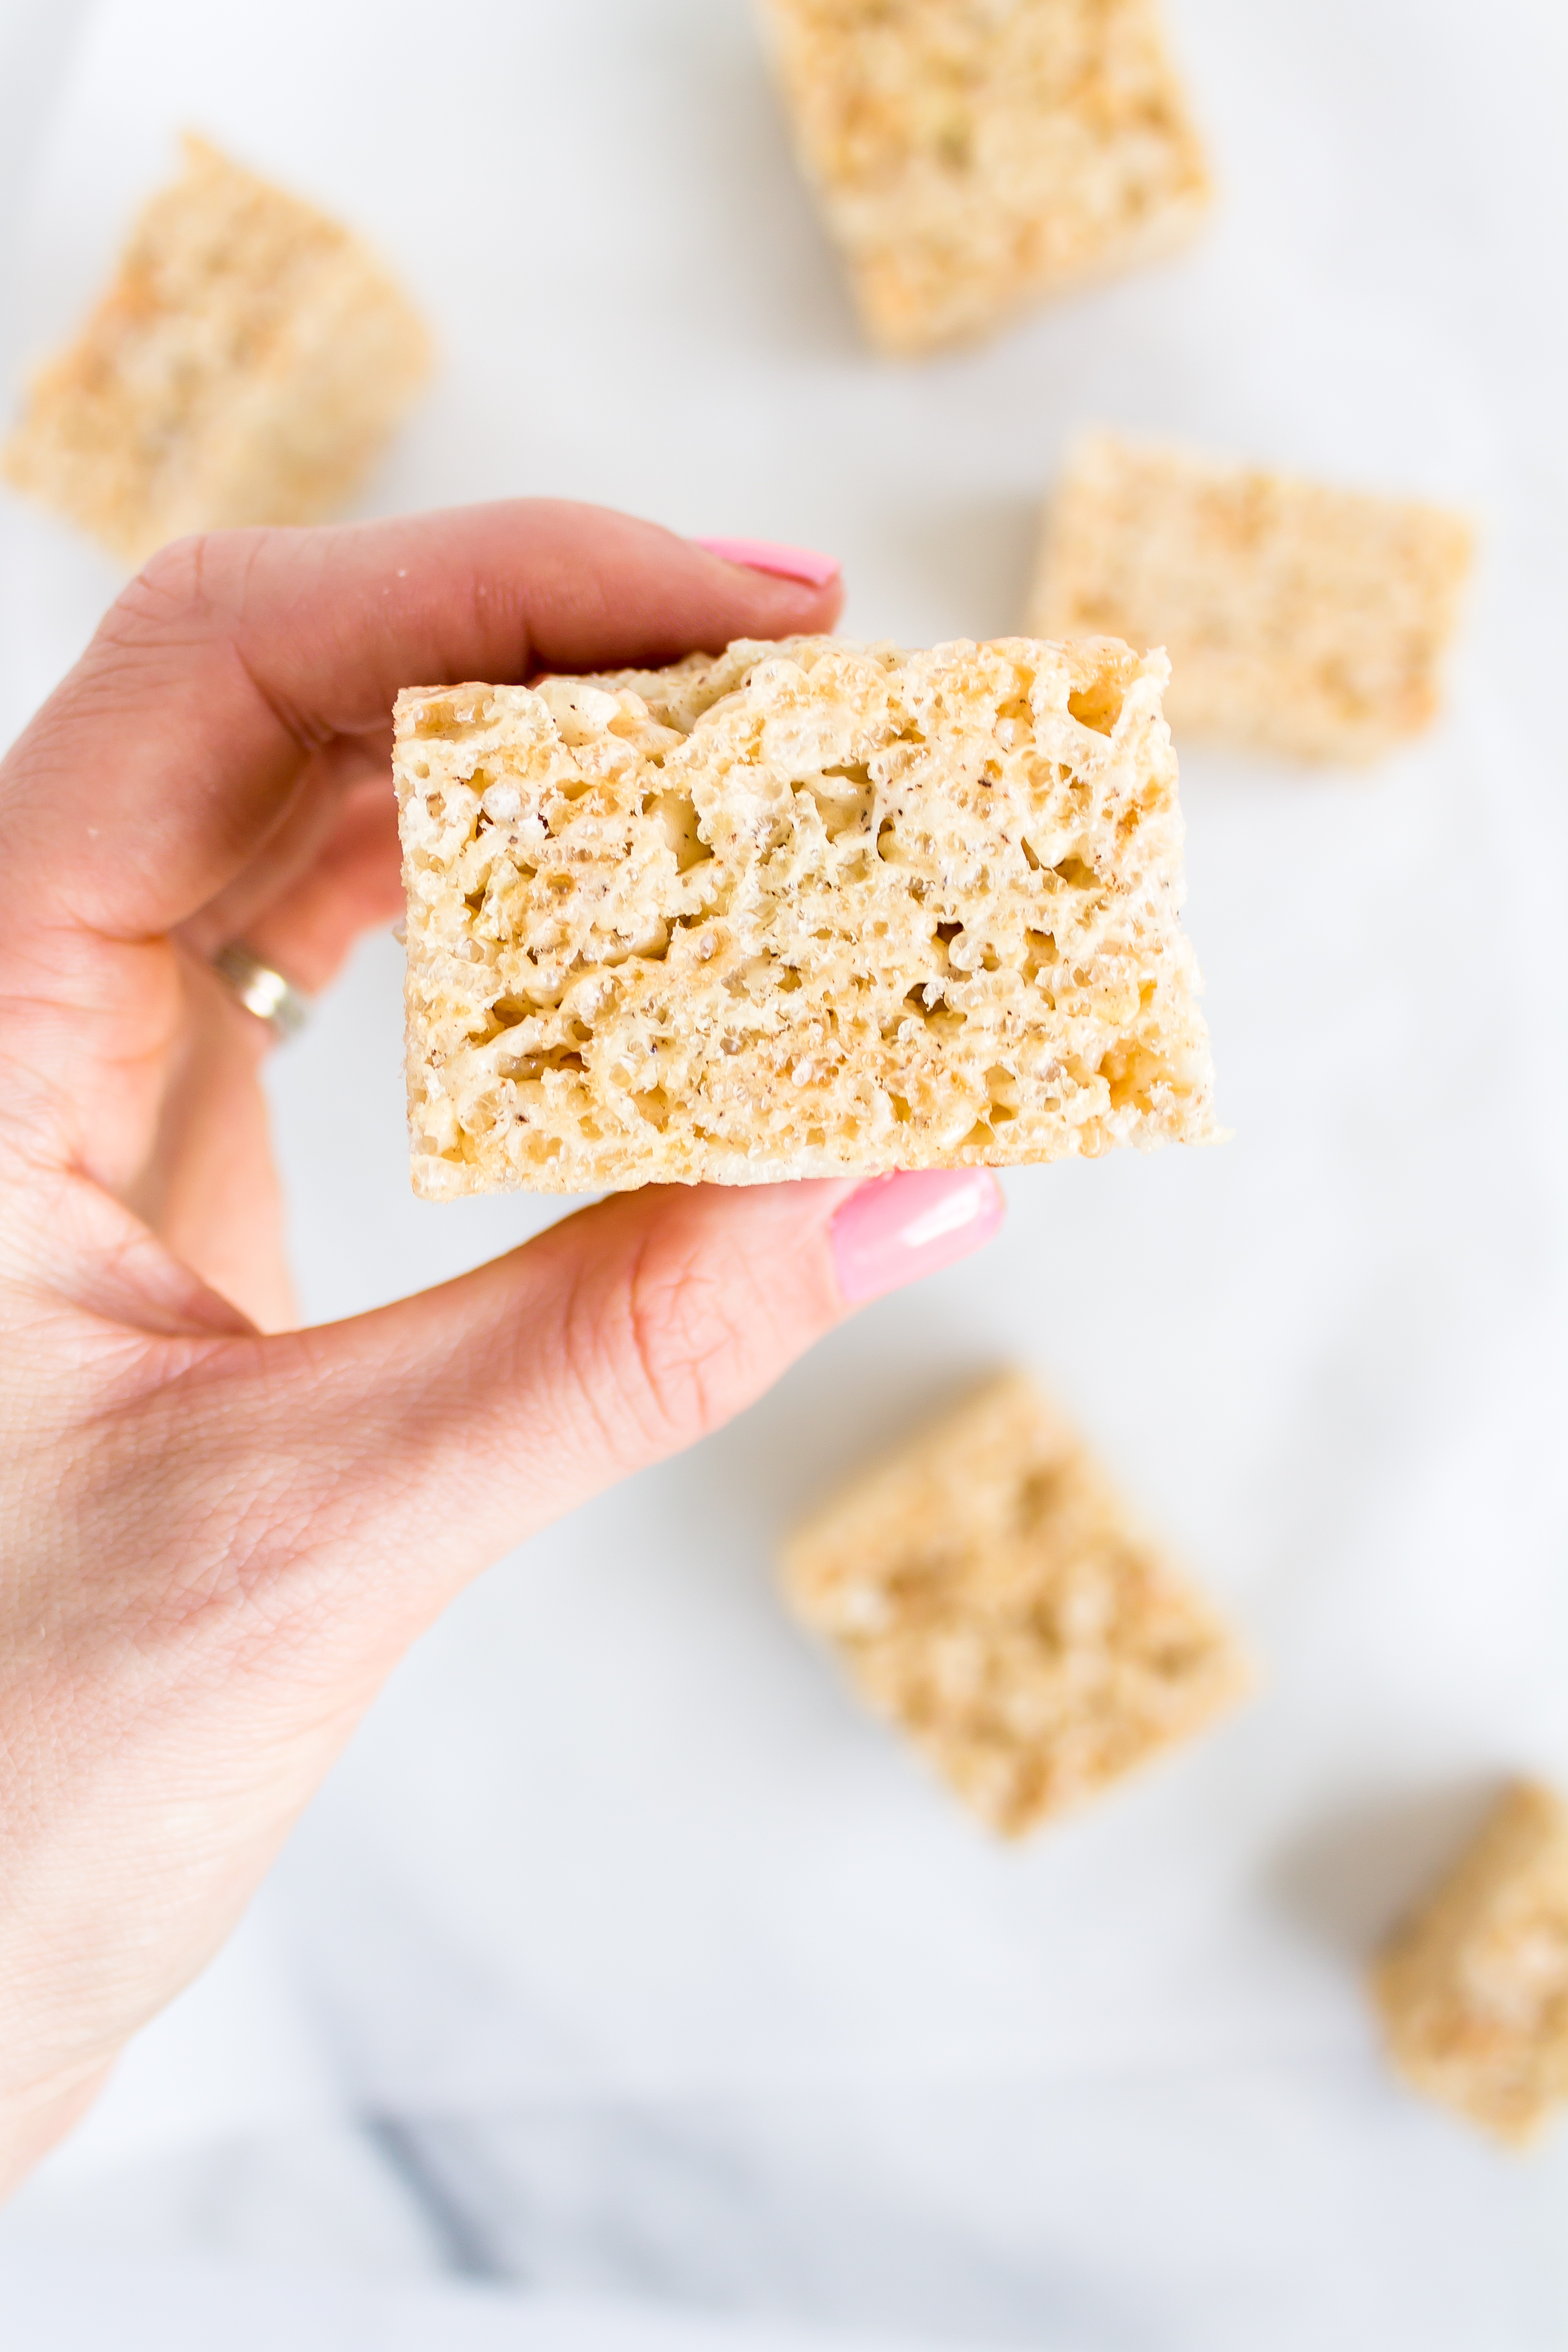
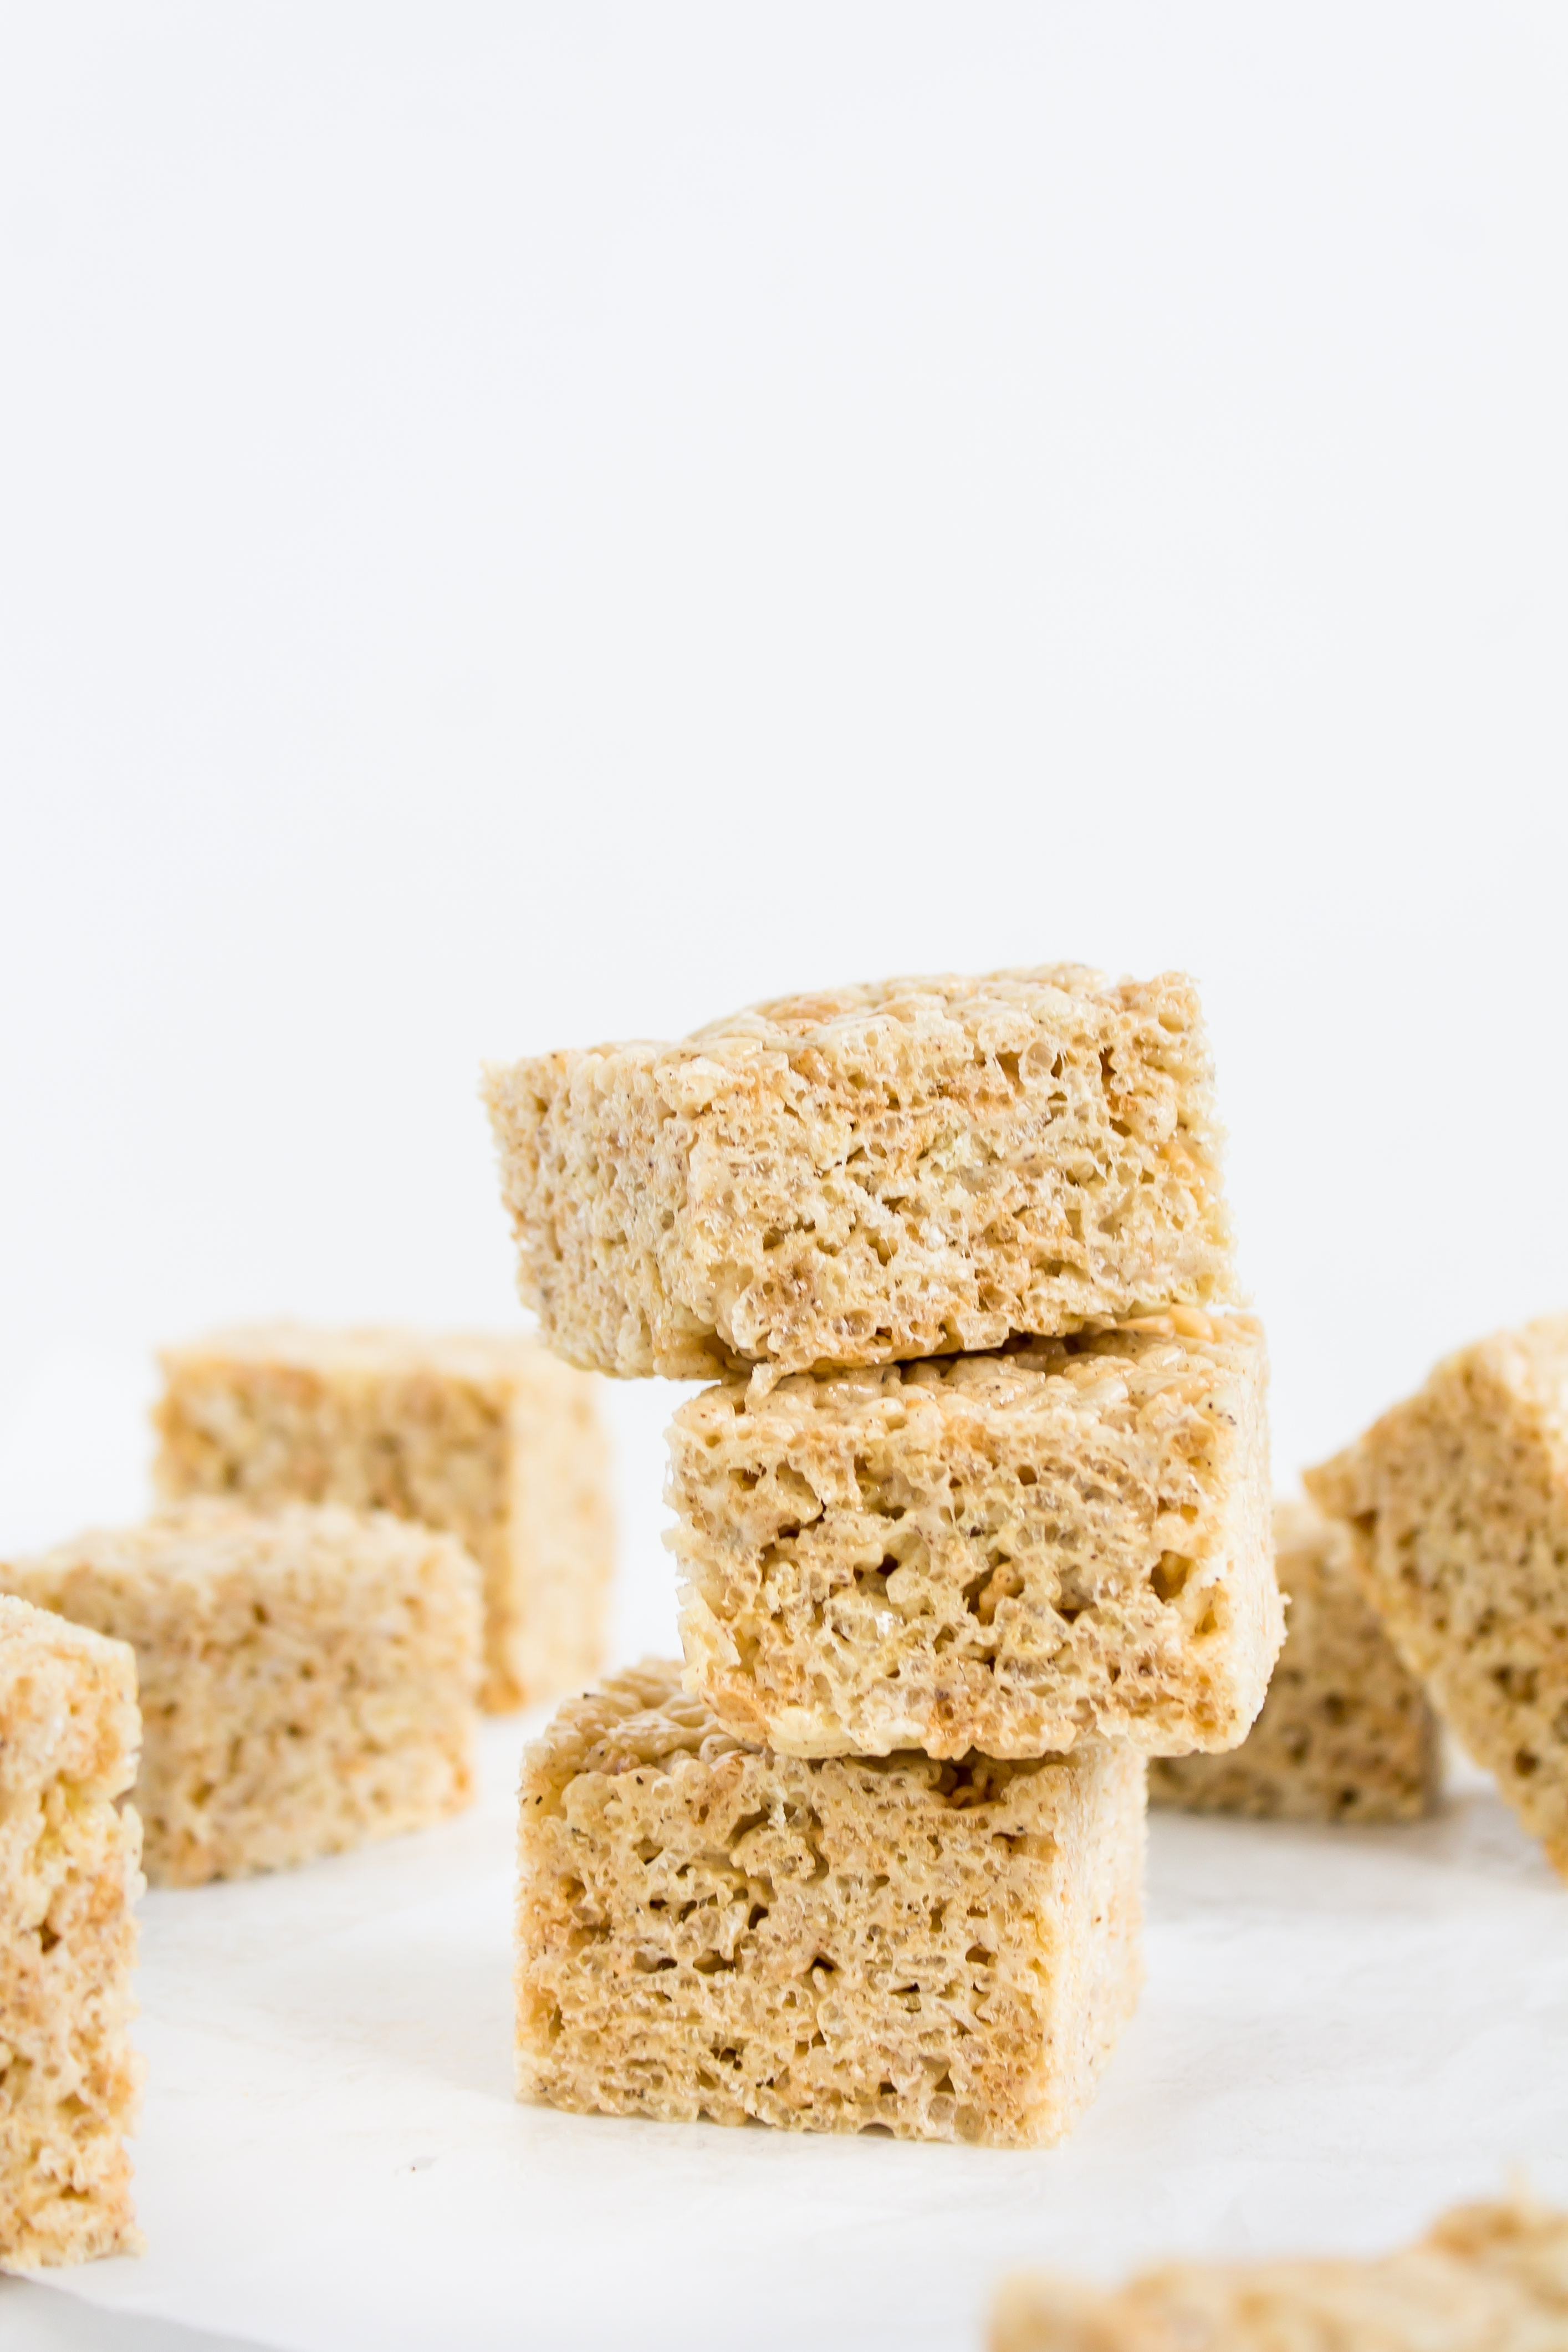
At first, I was skeptical about how much of a difference the brown butter would make, but after trying them, I don’t think I’ll make them without brown butter again. It is an easy step that brings some depth to the bars and is enhanced by the touch of sea salt and hint of vanilla. They are the true adult form of the sideline childhood staple.
In 15 minutes or less, you could have these gussied up salted vanilla brown butter rice krispy treats on your hands. What are we waiting for?
Brown Butter Rice Krispy Treats
4 ounces unsalted butter
1 10-ounce bag marshmallows (I use mini marshmallows to help them melt faster)
½ teaspoon vanilla
¼ teaspoon sea salt
6 cups crispy rice cereal
Coat an 8-inch square pan with non-stick spray. Set aside.
In a large pot over medium-low heat, melt the butter. Continue to cook it, stirring frequently to prevent the bottom from burning, until it turns brown, stops foaming, and smells nutty. Don’t leave the butter unattended after it melts – the browning process happens quickly.
Turn off the stove and stir in the marshmallows. If the marshmallows don’t completely melt from the hot butter, turn the heat on low until the mixture is smooth and everything is melted together. Add the vanilla and stir to combine completely.
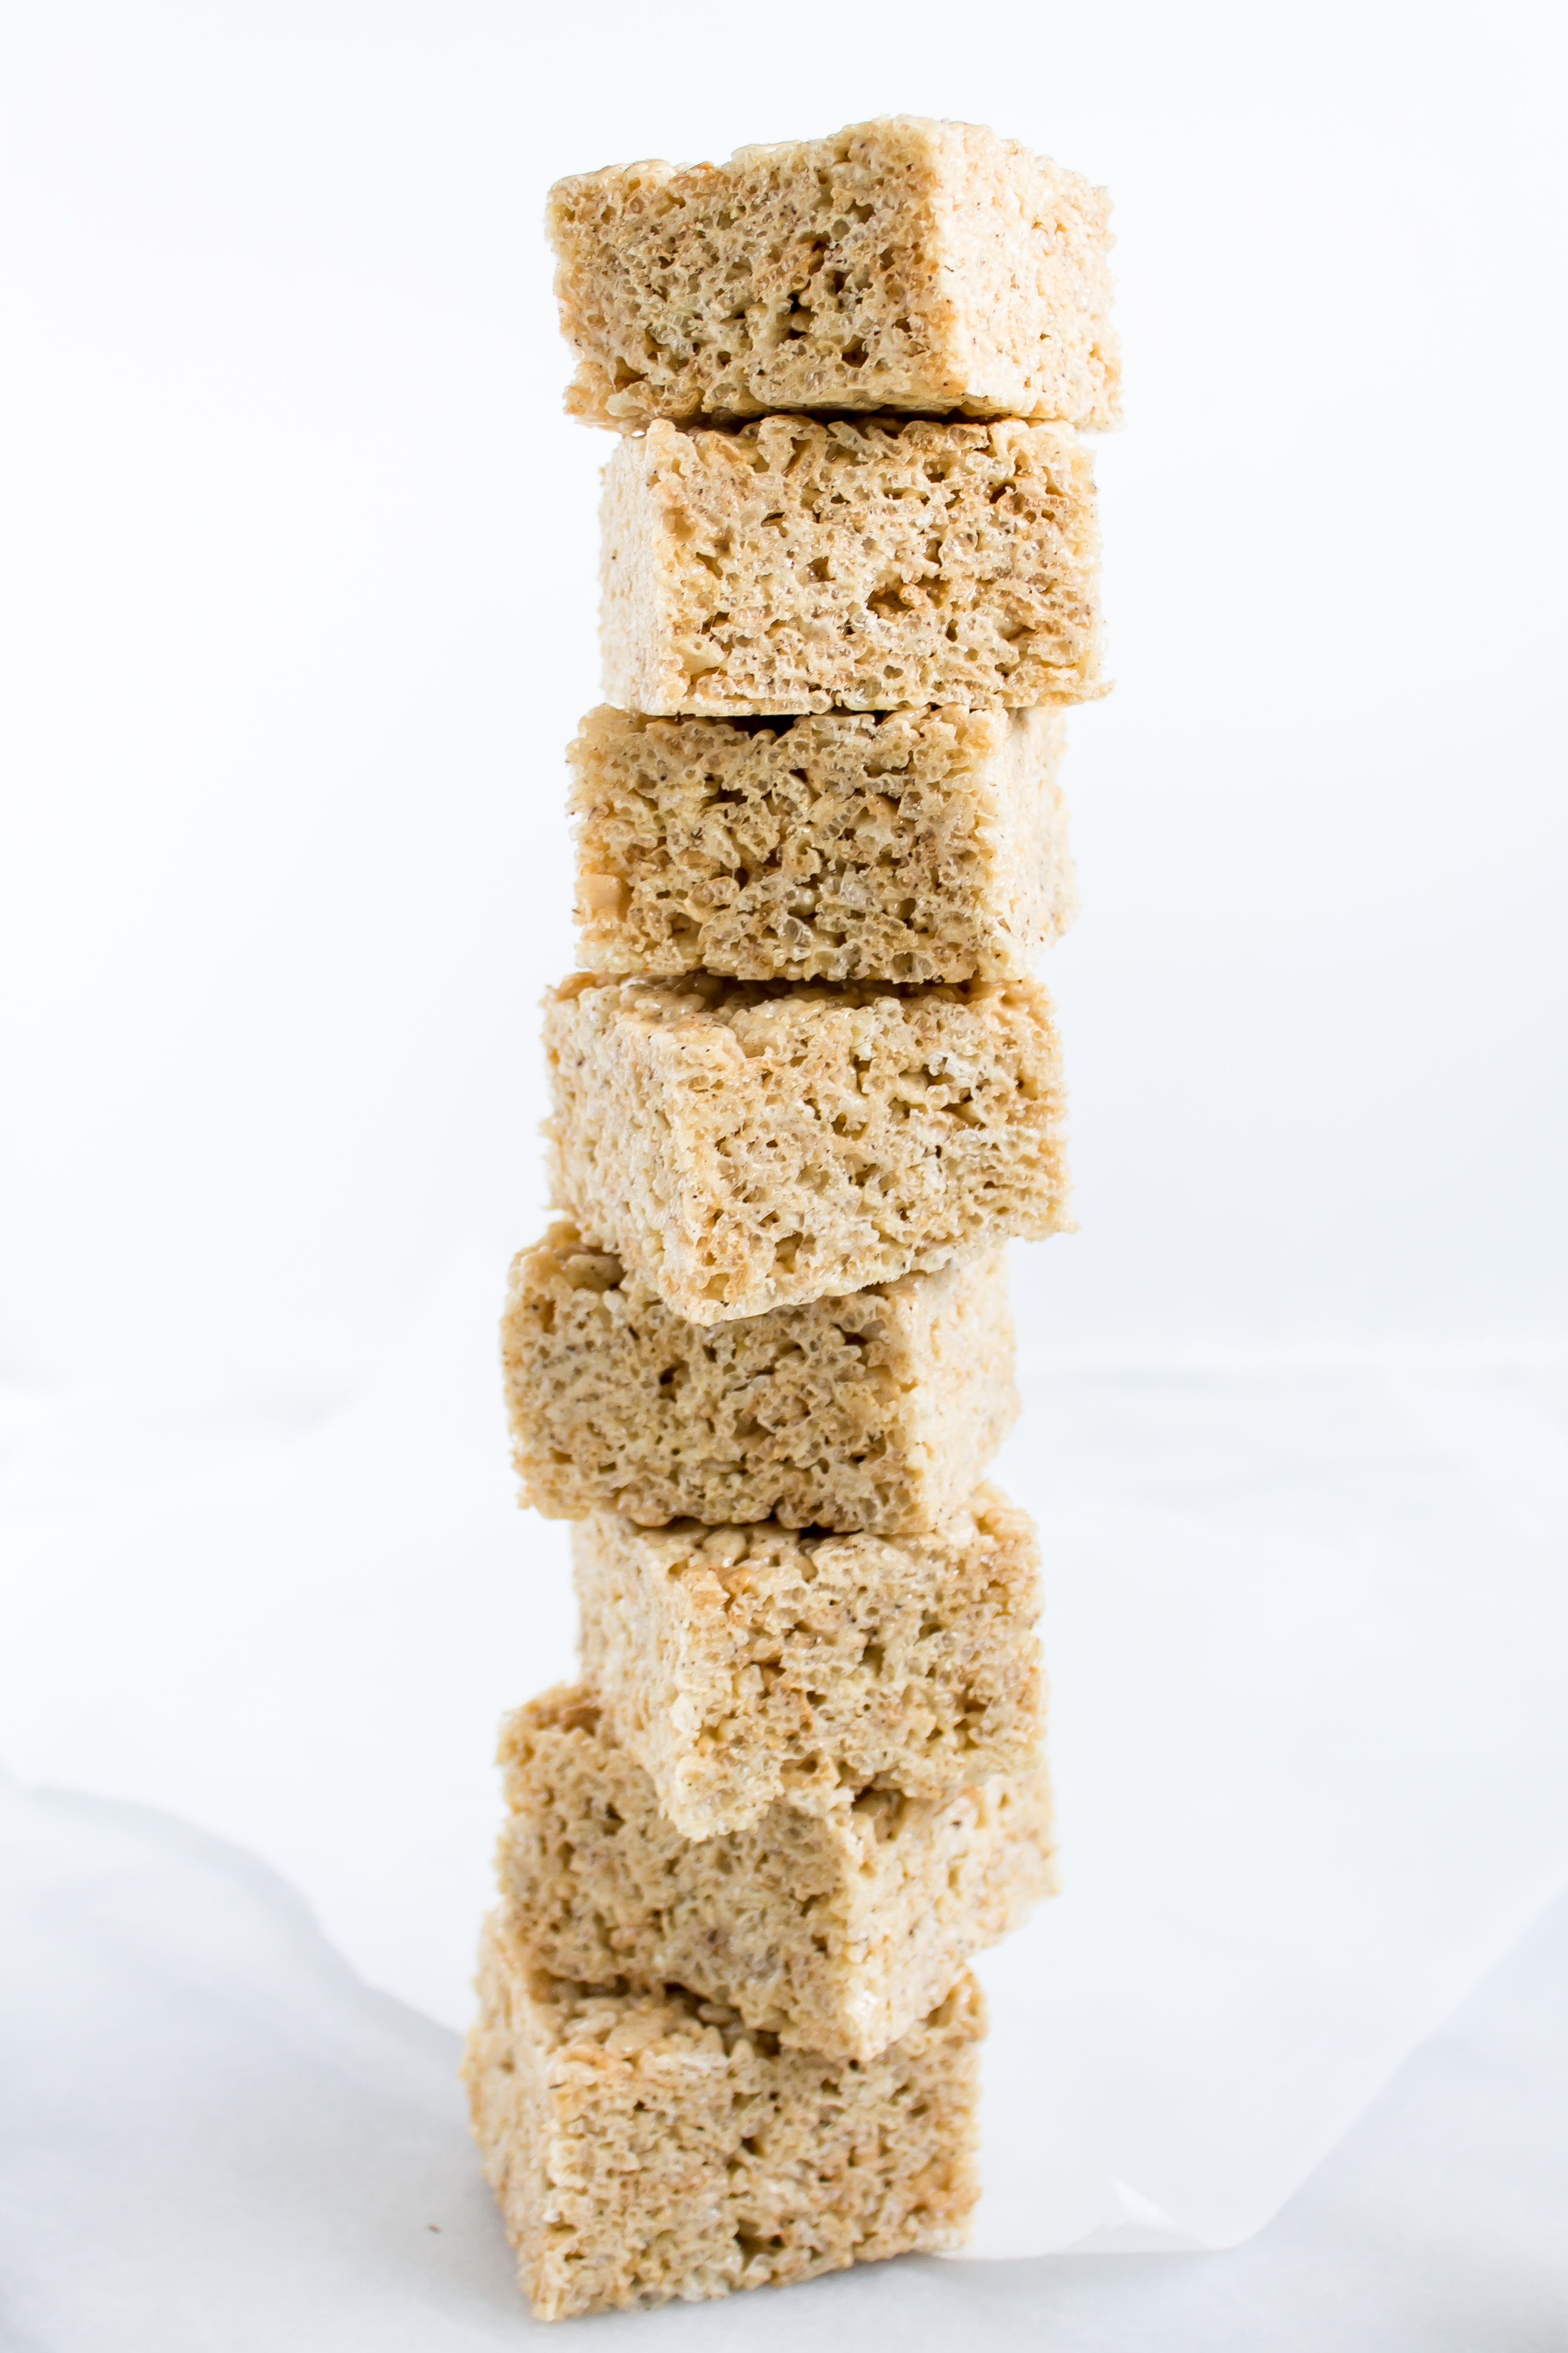
Remove the pot from the heat and gently stir in the salt and the cereal until the marshmallow mixture evenly coats all of the cereal. You don’t want any clumps of marshmallows or any dry cereal spots in your bars. Press the marshmallow-coated cereal into your prepared pan. Using a piece of parchment paper, wax paper, or plastic wrap sprayed with non-stick spray is helpful when you are trying to press the bars into the corners of the pans. I pressed my cereal down pretty compactly, but the density is up to you. Let the bars cool before cutting into squares.

Leave a Reply